-
Featured
- #221




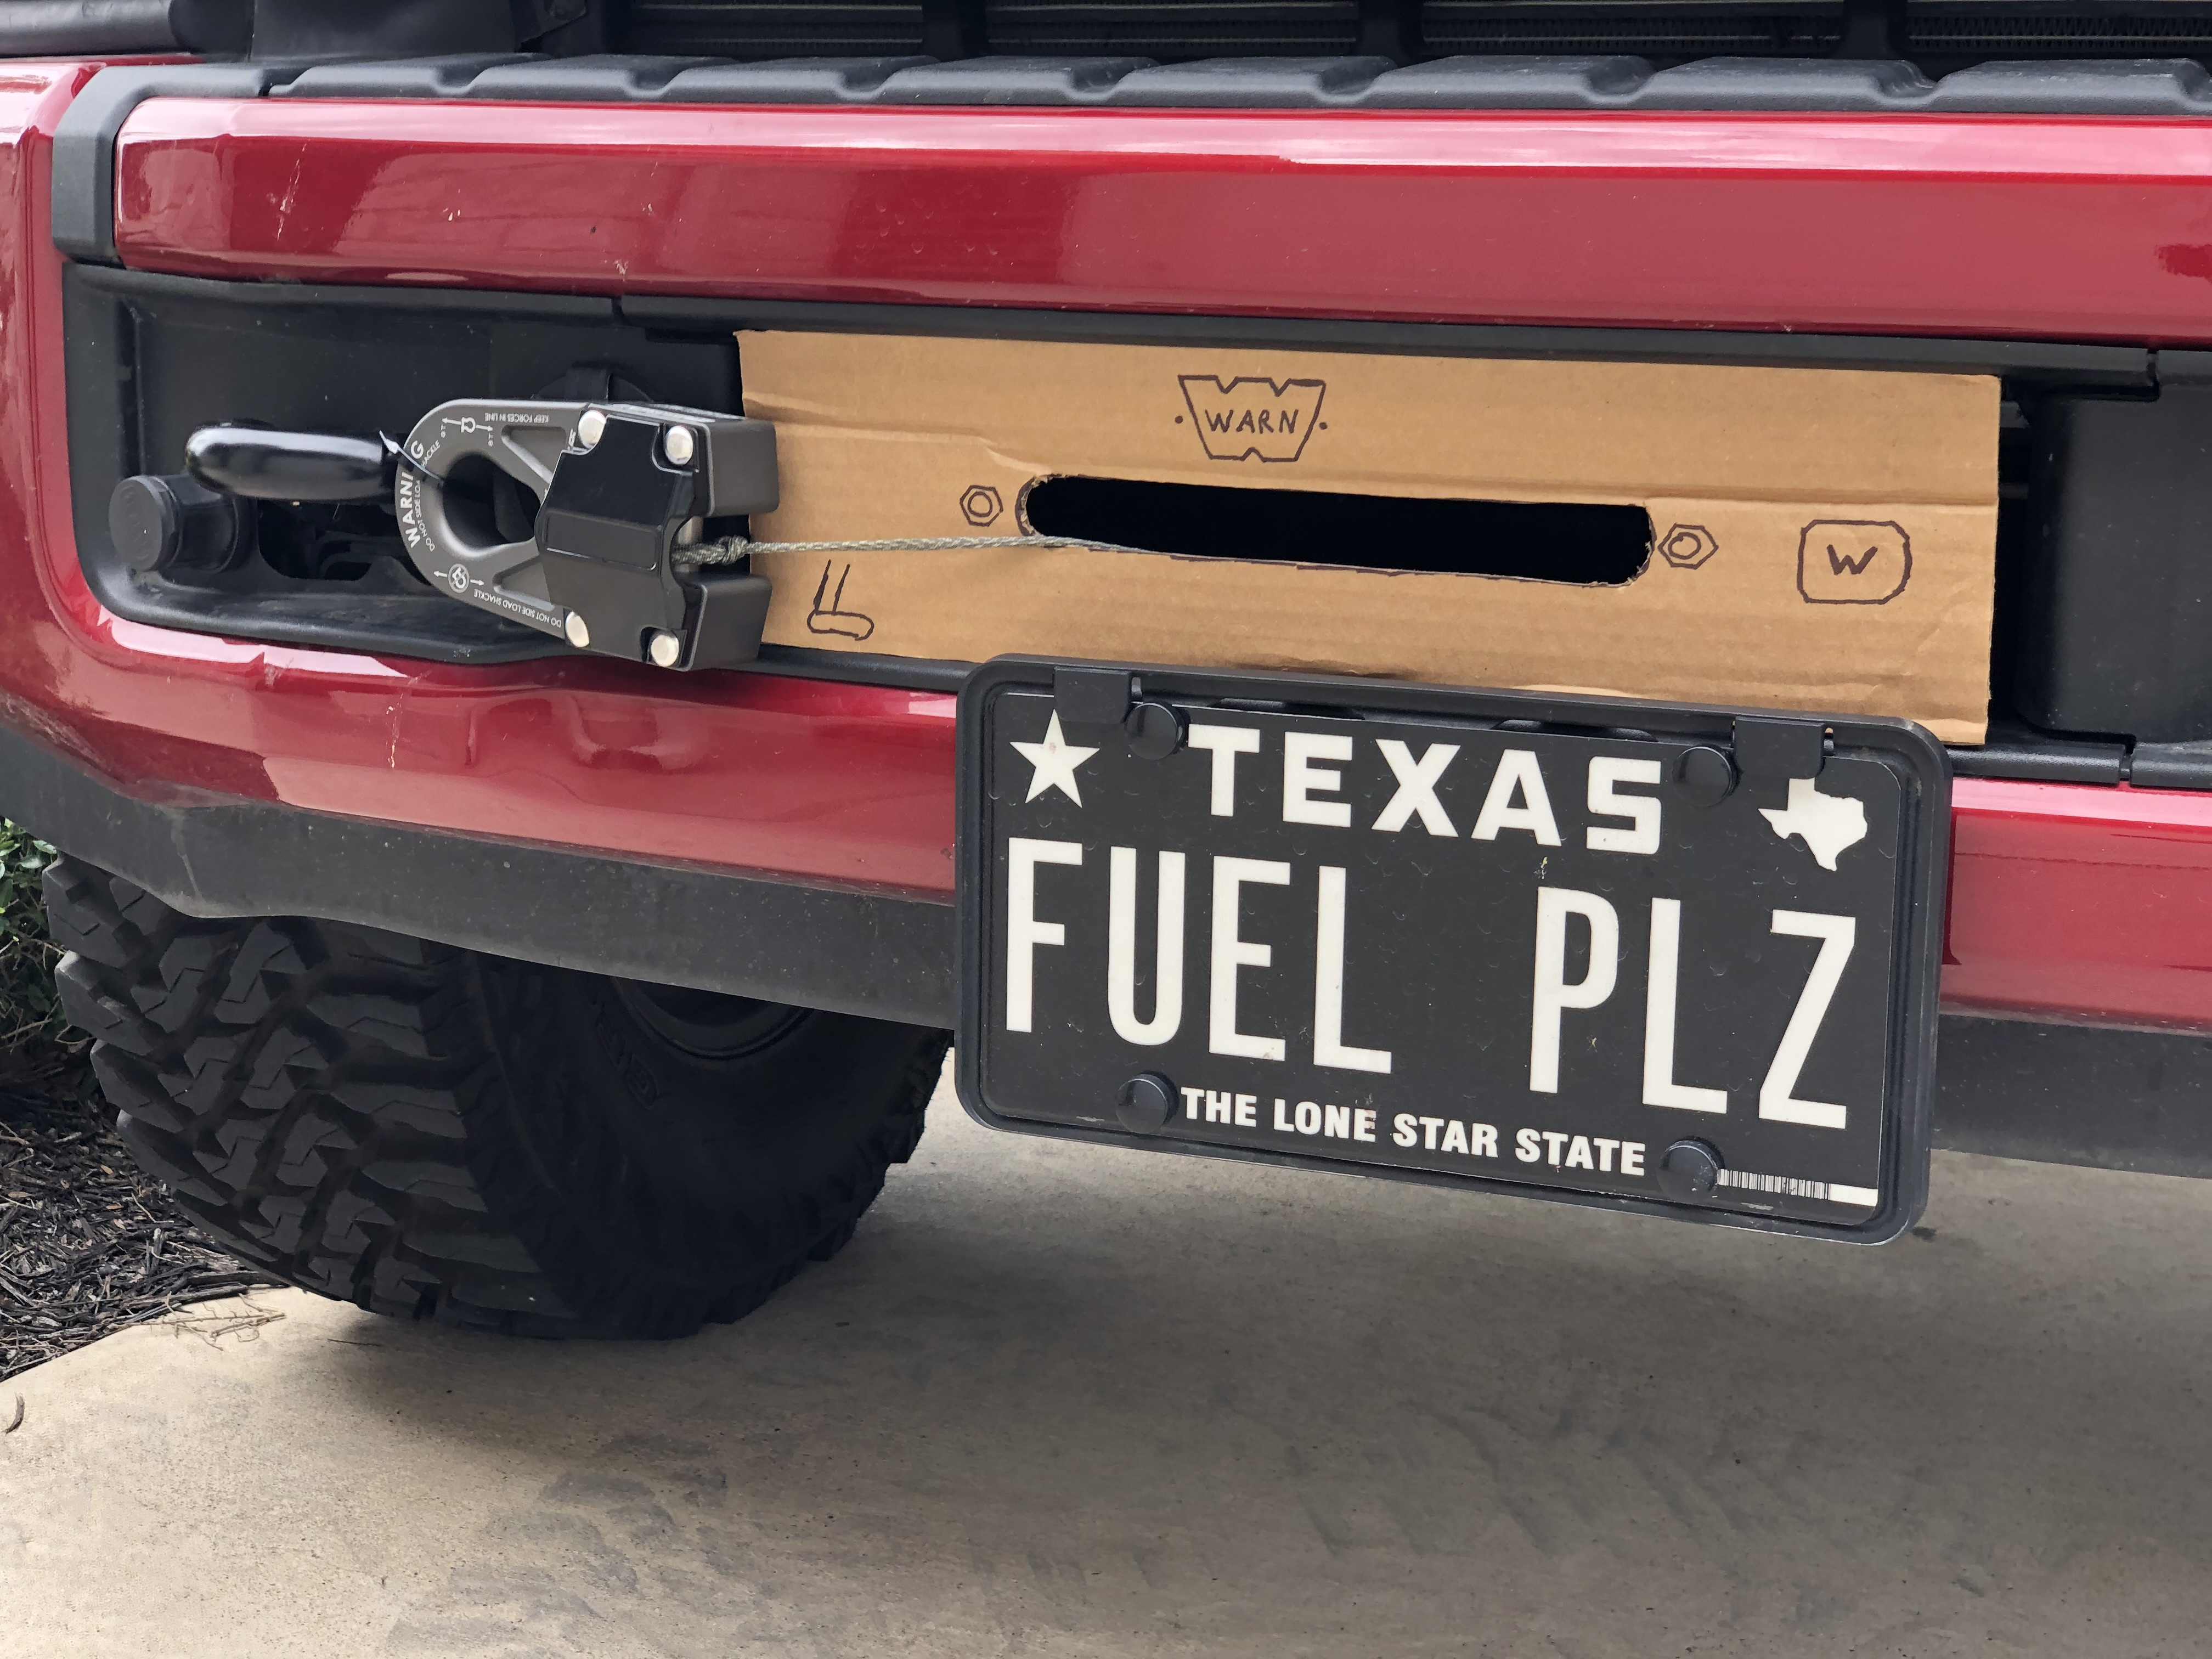
Looks so much nicer than my setup!Got my new winch hook delivered this morning!
View attachment 159042
Follow along with the video below to see how to install our site as a web app on your home screen.
Note: This feature may not be available in some browsers.
Looks so much nicer than my setup!Got my new winch hook delivered this morning!
View attachment 159042

Are you sure the working load limit is rated for your truck???Got my new winch hook delivered this morning!
View attachment 159042


Nice job! I love the pictures. Looking to get one of these before winter hits here in IndianaHad time this weekend to get to my second upgrade as well! Installed a Noco plug in the bumper trim and connected it to the cord for the engine block heater. No more searching for the cord in the cold!
View attachment 48155
View attachment 48156
Install was pretty straightforward. The trim is held on with clips. It pulls off with now tools. (Start pulling out in the side next to the winch lever)
I wrapped the Noco cord inside some plastic conduit to protect it and zip tied everything out of the way in the back side of the bumper. The screws that came with the Noco are self drilling and easily secured the Noco to the bumper trim. If it gets loose over time I’ll replace the screws with some bolts.
View attachment 48157
View attachment 48158
I used a 2” hole saw blade which worked as a perfect size to hold the Noco.
View attachment 48159
View attachment 48160
Thanks! You're gonna love it! Makes it sooooo convenient. And, I keep my extension cord on a smart plug, so I can set schedules and control the block heater from my phone.Nice job! I love the pictures. Looking to get one of these before winter hits here in Indiana


I have the entire strobe kit from Limitless Auto on my truck along with the override flood light all tied to one aux (#6) (minus the flood light module, the factory switch handles this) and have had no issues.Ohh! I wonder if the limitless kit for spot light flood is plug n play, but perhaps their version for strobe requires some wire connections to be made.
Here’s their product page:

Ford Super Duty Mirror Spot Speed Override Harness
A simple plug and play harness for your 2017-2022 Ford Super Duty / Alumiduty or 2015-2020 Ford F-150 that allows your mirror spotlights to come on and stay on whenever the factory button is pressed. Originally these lights turn off when driving over 6mph. This is for the FORWARD facing...limitlessautoworksllc.com
Here’s a photo which I think is of the flood version you used that’s plug n play.
View attachment 57200
And here’s a photo (from the same product page) if their version that I think has the strobe function and isn’t entirely plug n play.
View attachment 57201
So I think the wicked kit may be simpler for anyone who wants both flood and strobe options for the spotlight overrides.
Here’s a caveat… if you want to tie a bunch of limitless strobe modules to a single upfitter switch, then the limitless kit with the raw wires is probably better for that scenario.
View attachment 57202
Ford Superduty & F-150 White Mirror PNP Auto Flasher (WAF) Kit
Flash your factory Super Duty mirror lights with the White Mirror PNP Auto Flasher (WAF) Kit for 2015-2020 F-150 & 2017-2022 Ford F-250/350/450/550 trucks.www.wickedwarnings.com
Rich does seem to make great products! I love his train horn integration harness! One of these days I may buy his strobe harness for the cab roof clearance lights.I have the entire strobe kit from Limitless Auto on my truck along with the override flood light all tied to one aux (#6) (minus the flood light module, the factory switch handles this) and have had no issues.
It's been on for over 2 years and the strobes work great. I have many hours of use on these strobes modules.
I recently tried the headlight strobe that Rich put out but unfortunately, it is not compatible with the Morimoto's LED projectors. It appears they draw too much amp and trip the module.
Rich is an excellent guy and awesome fabricator.

i like the mounting location. how did you attach them?Finally ran the switches today for these rear lights.
I wanted fancy switches with backlighting, but both time and space necessitated something a bit simpler. The third button is a momentary switch that changes the flash pattern of the UBL color flood minis.
View attachment 59204
View attachment 59205
View attachment 59206
The backs are sticky. I actually upgraded them to new switches that are similar but also backlit when on now! Let me post a photoi like the mounting location. how did you attach them?
Almost 3 months in, and this repair is holding great! (the RTV, not the tape...Today I finally used some Permatex RTV to repair my floppy cab trim. I cut off the little plastic bit that was originally around the rivet before I glued it all down. Hoping it holds!!
View attachment 158801View attachment 158802View attachment 158803View attachment 158804
 )


 www.americantrucks.com

Is this the same one you tested earlier this year? Maybe that was a temporary mounting and this is the final install? ThxGot the Rough Country 40-Inch Chrome Series White DRL LED Light Bar installed over the weekend! I used the hardware it came with to mount directly to my bumper. It was fairly easy to drill 2 holes for the bolts and affix a nut on the bottom by popping off the front plastic trim pieces. I had to use a couple wobble extensions to get to the nut, but it was pretty easy. Only mistake I made is that the light bar is pointed slightly down (not bad, but the perfectionist in me is annoyed) because I installed the light bar while my truck was parked on my steep driveway... oops.
I know guys that talk about how cheap Rough Country is and how they'll never have it on their trucks... I think I agree when it comes to suspension parts, but I'm happy to try this light for less than $200 and see how long it lasts. It's MUCH brighter than even the factory OEM High Beam LEDs. And for anyone that asks, I leave the plastic cover on the light bar during normal driving in town. The intent of a light like this is for driving off-road or in rural areas/parks with no oncoming traffic.
A couple other install notes... I was able to slide the provided wiring harness through the firewall grommet on the driver side of the engine bay. It was plenty long. Had to cut a small slit in the grommet. Be careful not to nock out the grommet when pushing your wire through.... my roommate and I did, and we had to spend 30 min working to get the grommet back into it's original position.
As for power, most of my accessories are attached to the passenger battery. Since I was routing the power harness through the driver side of the truck, I decided to get power from the driver side battery. I drilled a hole in the positive terminal and added a small bolt/nut to attach the ring from the harness. The negative/ground on the frame was a bit hard to remove due to clearance, so it was easier to just connect the negative side of the harness directly to the battery since the negative terminal already had a post on it.
Rough Country F-350 Super Duty 40-Inch Chrome Series White DRL LED Light Bar 72940D (Universal; Some Adaptation May Be Required) - Free Shipping
FREE SHIPPING! Powerful Illumination. Upgrade your off-road experience of your ride with this Rough Country 40-Inch Chrome Series White DRL LED Light Bar to han
View attachment 169587View attachment 169588View attachment 169589View attachment 169590
Yes sir! The previous test was just balancing the bar on the truck. Now it’s actually attached.Is this the same one you tested earlier this year? Maybe that was a temporary mounting and this is the final install? Thx
Daytime photos!Got the Rough Country 40-Inch Chrome Series White DRL LED Light Bar installed over the weekend! I used the hardware it came with to mount directly to my bumper. It was fairly easy to drill 2 holes for the bolts and affix a nut on the bottom by popping off the front plastic trim pieces. I had to use a couple wobble extensions to get to the nut, but it was pretty easy. Only mistake I made is that the light bar is pointed slightly down (not bad, but the perfectionist in me is annoyed) because I installed the light bar while my truck was parked on my steep driveway... oops.
I know guys that talk about how cheap Rough Country is and how they'll never have it on their trucks... I think I agree when it comes to suspension parts, but I'm happy to try this light for less than $200 and see how long it lasts. It's MUCH brighter than even the factory OEM High Beam LEDs. And for anyone that asks, I leave the plastic cover on the light bar during normal driving in town. The intent of a light like this is for driving off-road or in rural areas/parks with no oncoming traffic.
A couple other install notes... I was able to slide the provided wiring harness through the firewall grommet on the driver side of the engine bay. It was plenty long. Had to cut a small slit in the grommet. Be careful not to nock out the grommet when pushing your wire through.... my roommate and I did, and we had to spend 30 min working to get the grommet back into it's original position.
As for power, most of my accessories are attached to the passenger battery. Since I was routing the power harness through the driver side of the truck, I decided to get power from the driver side battery. I drilled a hole in the positive terminal and added a small bolt/nut to attach the ring from the harness. The negative/ground on the frame was a bit hard to remove due to clearance, so it was easier to just connect the negative side of the harness directly to the battery since the negative terminal already had a post on it.
Rough Country F-350 Super Duty 40-Inch Chrome Series White DRL LED Light Bar 72940D (Universal; Some Adaptation May Be Required) - Free Shipping
FREE SHIPPING! Powerful Illumination. Upgrade your off-road experience of your ride with this Rough Country 40-Inch Chrome Series White DRL LED Light Bar to han
View attachment 169587View attachment 169588View attachment 169589View attachment 169590

Daytime photos!
View attachment 170063
Love how the dual row light bar matches the aesthetic of the platinum grille!

Looks great! It really blends in nicely which I like.Daytime photos!
View attachment 170063View attachment 170064
Love how the dual row light bar matches the aesthetic of the platinum grille!