Project Shadowfax

Would love for a bit bigger wattage one that goes in the OEM spot that has pure sine.

The Milwaukee M18 Super charger requires more than 400 watts.
Fair. I plan on hooking it up to the existing wiring (including to the OEM outlets) so I didn't want to go more than 400 watts to be safe. No idea if the wiring could handle more or not.
 
Today Shadowfax got his first oil change at 1675 miles! Technically over my planned 1000 mile first oil change, but I crossed 1000 miles while on a road trip, and since this is the first one no opportunity to change it earlier.

Next oil change will be at the scheduled 5000 miles on the odometer, and every 5000 mile increment on the odometer from there on out.

Oil looked great coming out. Still plenty of clarity to it. Love how accessible the drain plug and filter are. Refilled with Motorcraft 5w-30 full synthetic and a Motorcraft filter. Cost me $70 all-in for 8 quarts and the filter.

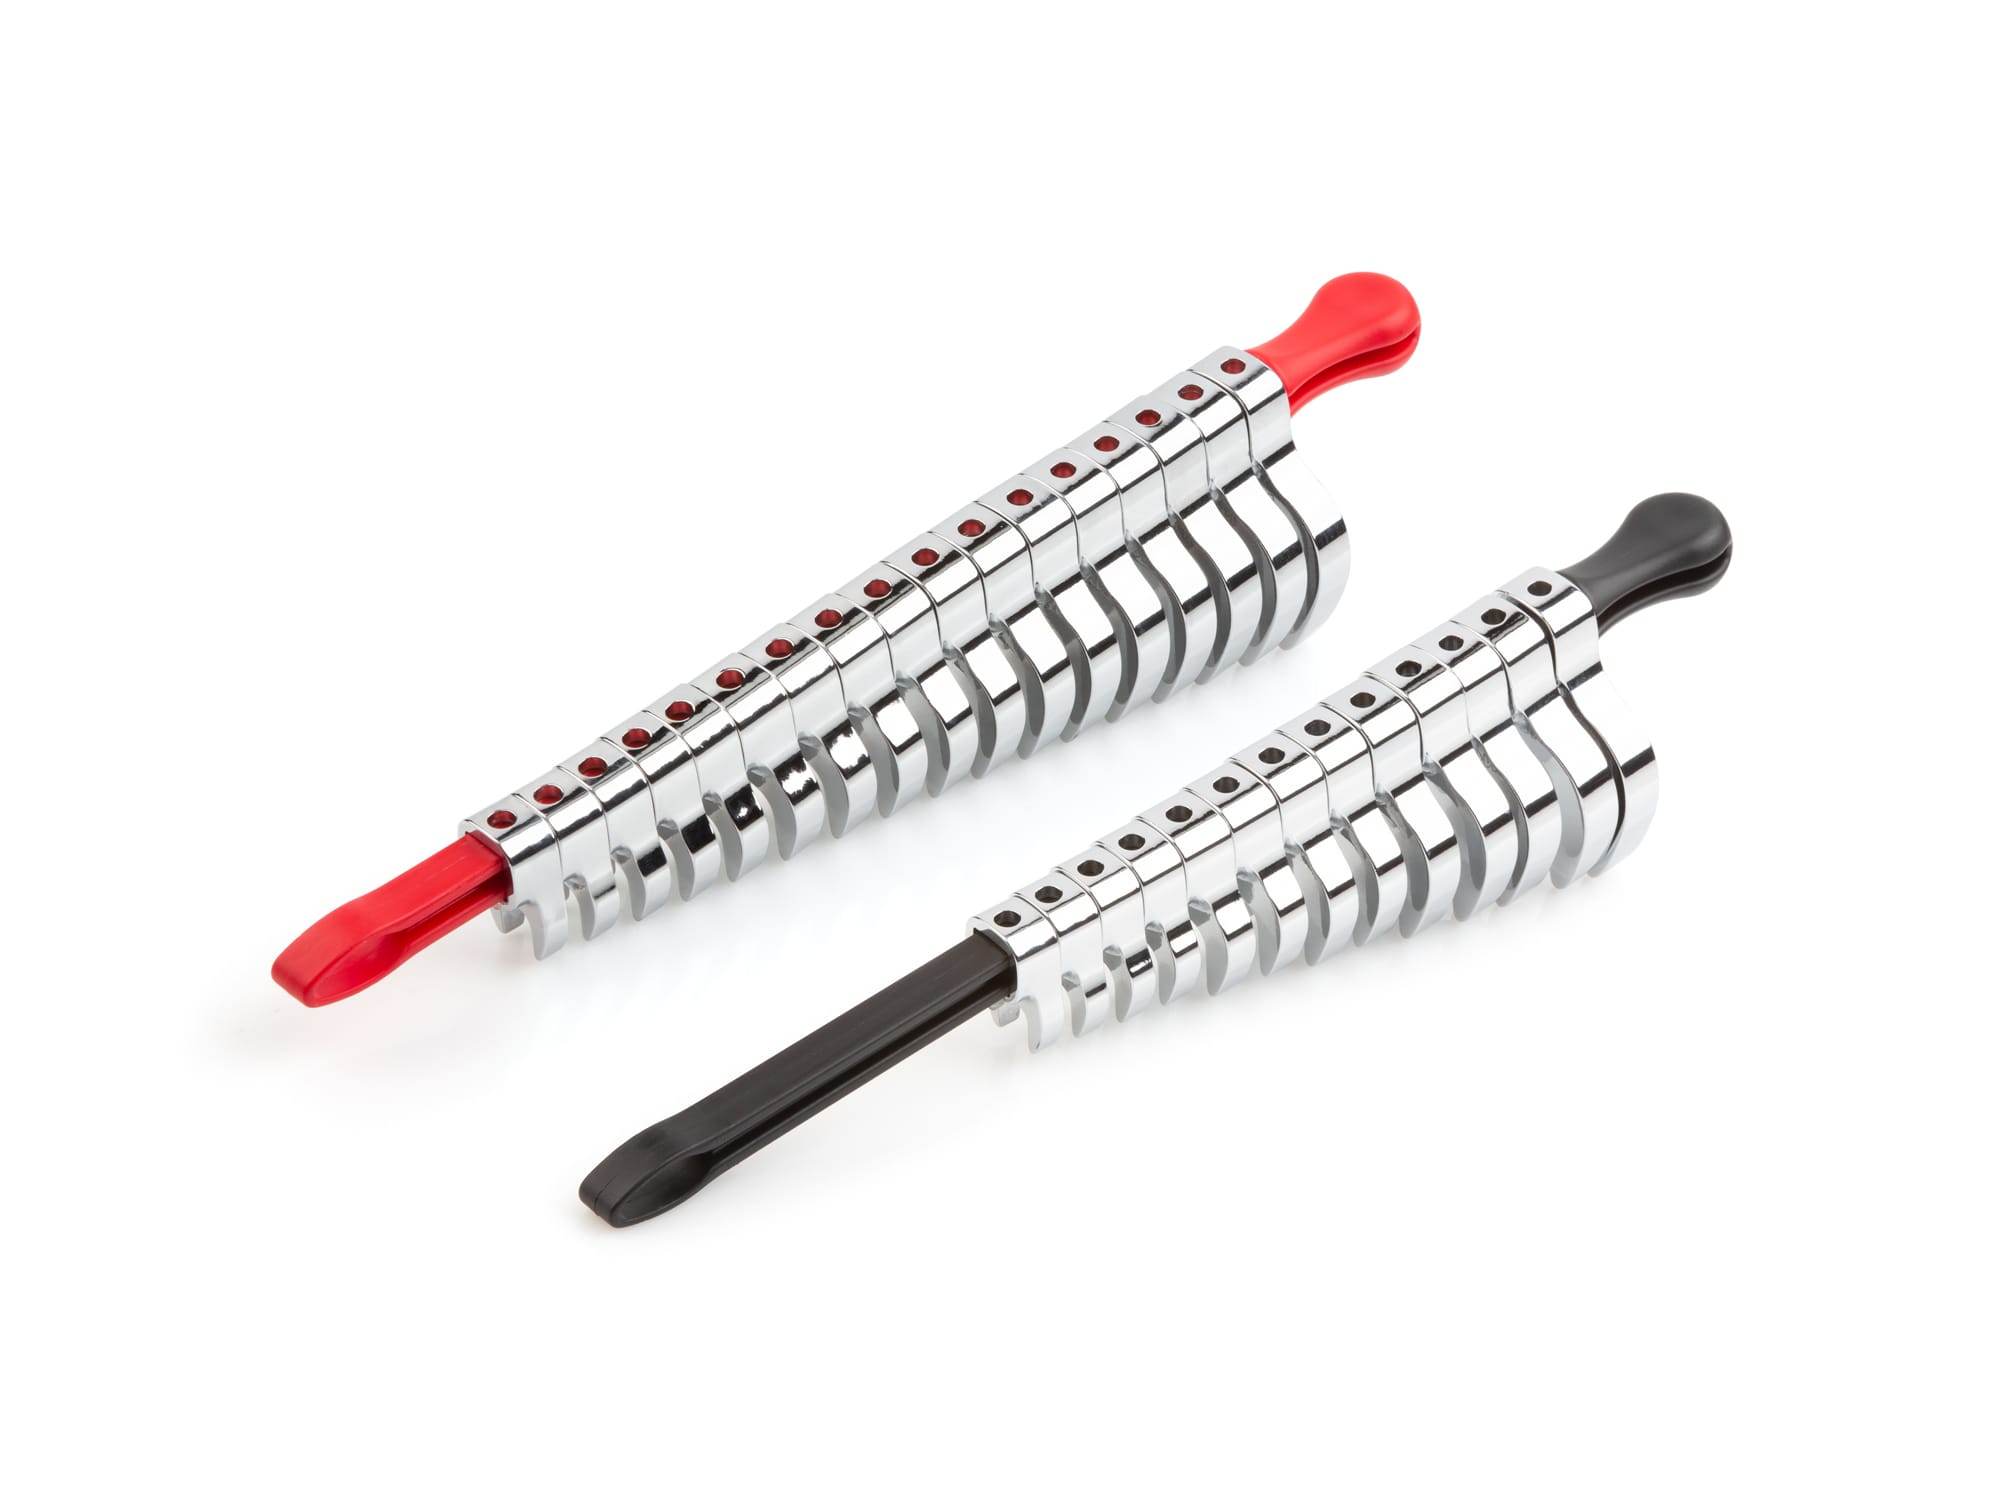
With the first oil change came installing the Stahlbus drain plug to make future oil changes easier, particularly with the skid plate. Was as easy as installing a regular drain plug, though two notes:
  1. Install the cap retainer after installing the plug. You can’t get a wrench on the plug with the cap retainer on.
  2. While it says to torque to a maximum of 15 foot pounds (bolded, underlined and in large font) there’s no way to get a socket on there, so I have no idea how you’re supposed to use a torque wrench. You need to use an open ended wrench. I used my arm-based torque wrench.
49845ADA-D996-4261-B9BB-8F9086D4FEF1.jpeg


With the oil change, I drained the oil separator. Had roughly 1/8” of a cup in it. Smelled like a mixture of oil and gas. While that’s by no means a massive amount, I’m happy to have the separator keeping that out of the intake, even if it’s designed for it.

26B20653-7CE0-4C0D-B9D9-3C5C5CE0000A.jpeg


With the oil change done I installed the PDM skid plate. Install was straightforward, though if you’re doing it use the smallest drill/driver you have. It’s tight quarters to get a drill lined up with the hole you need to drill out! Also the instructions say you need to drill it out to 7/16”, but I stopped at 3/8” (using a stepped drill bit) and it worked great.

Sprayed the hole down with some high temp Rustoleum because it’s right next to the oil pan, tightened everything up, and it’s good to go! Feels really strong. While I wouldn’t necessarily want to drop the whole truck’s weight on the thing, I’m more than comfortable having it scrape across some rocks.

Drain plug access is great, and will be perfect with the Stahlbus. Filter access is fine from the standpoint of getting a hand and/or wrench on it. But part of the filter is over the skid plate, so it’s going to be a bit of a mess when dropping the filter. :(

A2917935-871D-41A2-9E73-D20ADE7C68FA.jpeg

EE0B276C-967A-4402-8E21-B44FE80719D5.jpeg

109B4390-EB2A-4E2B-900D-05E185088E0F.jpeg

30756FBF-9C3A-459D-B616-4B80C20258DB.jpeg

Other note from today: I love how tall this truck is when it comes to maintenance. I can roll around on a creeper under the entire truck with the truck on the ground. It’s cozy if the cats are hot, but ultimately I did everything I did today with the truck on the ground. :D

Parts links:
 
With the service plan things such as brake fluid and coolant changes should be time based, not distance based.
So I know you commented this a while ago, but I didn't forget! I've updated my maintenance schedule to move brake fluid, power steering fluid, and coolant to be time based (every 2 years) rather than mileage based.

Thank you again for the suggestion!
 
More work on Shadowfax tonight! This time focused on the block heater cord and front differential.

First up, the easy one to summarize: Carli front differential guard. It’s beefy steel - really feel that weight when laying down under the truck trying to hold it up to thread the bolts in. Instructions are super clear and it’s a pretty easy install. I had no oil drip at all during the install. A nice touch with the design is an angled plate that goes underneath the differential to act as a rock slider and direct rocks under the differential.

Pro-tip: try using a deep socket instead of an extension. I found my extension was too long and wound up having my ratchet/torque wrench interfering with the...drag link? Whatever the bar is that goes across the truck in front of the axle related to steering. :ROFLMAO:

2E12AB3D-45DA-4DB6-8BE4-6526FBF7B6C4.jpeg

8926EFD0-D3AA-4850-B1C8-25565B1F9227.jpeg

7971C3B2-D44C-4A24-847B-E62C7C486CC0.jpeg


Next up is the block heater cord. My main goal was to install the Noco outlet; however, once I got under the truck I saw that the block heater cord was routed in about as low and vulnerable way as possible. You can see it here running just above the height of the air dam.

Also in this picture, you can see (right in the foreground) a connector hanging nice and low. This appears to be for the winch.

305EBE93-7DDB-4D65-B0AD-7B5923A6B7B2.jpeg


So a new goal was to reroute the block heater cord and move the winch connector, in addition to installing the Noco. I ended up following some existing wires from the winch that go underneath the radiator, using zip ties to hold things in place. At the other end I was able to use the existing Christmas tree connector on the end of the block heater to hold it up and out of the way. The winch connector I was able to move up and out of the way.

454729A6-1471-499D-AA1A-39475E8DF85E.jpeg


EF366BC5-E0D9-4CE1-9E58-DD961DFD07C5.jpeg


The Noco itself was easy to install. As noted elsewhere, just takes a 2" hole saw and the self tapping screws hold strong. Only complication was the little clips that hold the trim piece on weren't holding well after I had the trim piece off. Bent them back open and they're holding well again.

C933A940-1A9A-4218-90E2-E13B24CA6033.jpeg


9FDE1846-6077-46D6-AD9A-5769B64CF9EE.jpeg


Parts:
 
While it says to torque to a maximum of 15 foot pounds (bolded, underlined and in large font) there’s no way to get a socket on there, so I have no idea how you’re supposed to use a torque wrench. You need to use an open ended wrench. I used my arm-based torque wrench.


So that is super interesting and useful for the future. But I posted an update in another thread that a socket does indeed fit and I was just an idiot. :p

So, I don’t have a pic because that pic would need to be of me looking like an idiot. :p

Rolled under the truck today to get said picture and the instant I got eyes on the plug I knew what I did wrong: on the bench, before I was under the truck, I tried to put the socket over the threads that go into the drain pan, not the threads that stick out for the cap. Mixed them up. 🤦‍♂️

While I was under there tonight I double checked and yep, a 19mm or 3/4” socket fits on like a glove.
 
New laptop came in yesterday, which means I also had a chance to try out Forscan tonight! Super cool program, and look forward to using it for diagnosis in the future. (Well, I don't want to have to diagnose anything because that means something is wrong, but you know what I mean.)

Made the following modifications in Forscan:
  • Disable triple honk on startup
  • Enable average speed display
  • Enable temperatures above gauges
  • Disable double honk without key in truck
Used the spreadsheet at the beginning of the following thread and the official Forscan build from https://forscan.org to make the changes:

 
Last edited:
This weekend Shadowfax crossed 2000 miles on the odometer. Along the way I've been tracking my fuel economy, both by hand and with the computer, for every fill-up. Figured I would share the data so far, though don't know what there is to glean out of it.

None of the miles have been towing. As explained in my initial build post, this truck will ultimately be used for payload more than towing. Particularly once I get a camper

In all honesty, I'm pretty impressed with the computer. It's not too far off in the grand scheme of things. And the variance between when pumps shut off could be enough to explain the difference.


Date

Miles (lifetime)

Miles (trip)

Gallons

MPG (Computer)

MPG (Hand)

October 1, 2021

495.2

N/A

23.133

N/A

N/A

October 8, 2021

762.8

267.5

20.671

13.0

12.94

October 9, 2021

1091.0

327.8

23.895

14.43

13.72

October 11, 2021

1309.9

217.5

16.348

14.2

13.30

October 11, 2021

1537.6

227.6

15.646

14.9

14.55

October 20, 2021

1697.4

159.8

15.387

10.9

10.39

October 24, 2021

1874.3

176.8

14.103

13.0

12.54
 
I've been doing some thinking about my plans for Shadowfax's electrical and the upfitter switches. I've solidified many of them at this point, so I'm going to document what I have planned out so far.

Ignition only switches:
1. Front off-road lights
2. Reverse lights
3. Winch
4. TBD

Always hot switches:
5. Interior electronics (CB radio, Ham radio, commercial radio for SAR, inverter, etc)
6. Strobe/warning/emergency lights (fixed pattern)

Let's walk through this in a bit more detail. Of note, not all of these mods are purchased at this point, and may be a ways out before they are (thinking specifically of the lighting on switches 1 and 2 with this comment).

1. Front off-road lights are on switch 1 because I want them to be easily accessible while at speed. Being in the first position makes it easier to select them without looking at the switches. The front off-road lights will be a pair of white lights installed in the Baja Designs Dual Fog Pocket Kit. The other pair of lights will be amber and wired to the factory fog light button. https://www.bajadesigns.com/products/Ford-Super-Duty-20-On-Dual-FPKs.asp

2. Reverse lights are in position 2 as they are likely to be frequently used, but it's OK if I need to look for them as I will inherently be going slowly and able to easily stop since they are intended for reversing. Reverse lights will be Baja Design S1's flush mounted in the rear bumper. https://www.bajadesigns.com/pc_product_detail.asp?key=146B2591AB6442359BA9E11CE749777A

3. Winch is third just because. Of note, it's on an ignition only switch since I intend to only be using the winch with the engine running. Even if the engine won't fire, as long as I can turn the ignition on, the winch will work, so I still have that safety factor in a pinch.

4. This one is still to be decided, though I've narrowed it down to two options. Both only make sense with the truck running, so an ignition only switch is fine. Additionally, they are fine to be in the middle of the switch block from an accessibility standpoint. The two I'm deciding between are:
  • Battery Charge Protection (BCP). This is a feature built-into the PCM that, when the truck is in park and a few other conditions are met, the PCM will adjust the RPM to maintain battery voltage based on the current load. Think of it as smart high idle: variable based on battery voltage. This could be useful when running the inverter and radios all at once. To read more about this, check out the 2022 Body Builders Layout Book, page 117: https://madocumentupload.marketinga...4f2a9dc16b11a696cd10141db8a36a8da090&v5=False
  • 2WD Low. This is a feature brought up elsewhere on this forum, and originating from another forum, where you put a relay on the vacuum circuit for the front hubs. By disabling that circuit when in 4WD Low, you disengage the front hubs allowing you to use low range with only one axle engaged. This could be useful for low speed maneuvering, where you want the extra control from low range but want to retain the steering ability of 2WD: https://www.ford-trucks.com/forums/1546205-2lo-mod-2wd-low-auto-front-hub-override-mod.html

5. Interior electronics are on an always hot switch because I want to be able to use my radios without worrying about the ignition timing out or having the truck running. This could be while running a repeater or just monitoring for communications. It just makes sense to me to tie the inverter into that as well, and I definitely want the inverter on a switch because otherwise it would be permanently hot once I upgrade to the pure sine wave inverter (for that modification see this thread: https://www.fordtremor.com/threads/replacing-factory-inverter-with-pure-sine-wave-inverter.7134/).

6. Strobe/warning/emergency lights are on 6. Given their purpose I absolutely want to be able to turn them on whenever I want, regardless of the truck's ignition state. Additionally, they are in position 6 for a similar reason to the off-road lights in position 1: easy, blind access.

For switch 5 I intend to add a fuse block that is powered by this switch (an idea mentioned by someone else here on the forum, unfortunately I don't remember who!). Between the battery and the fuse block, I will have a low voltage cut-off switch to protect the battery from running dead. I will also install a voltage gauge to allow me to monitor it and start the engine before the cut-off switch needs to kick in. The gauge will also be powered by the fuse block to ensure when the fuse block is turned off, the gauge is as well so it can't kill the battery.

I would love to be pointed to any battery gauges and/or cut-off switches you all can recommend or suggest. :D
 
CB87DC92-89F8-40EC-8299-7EB8B88C5DD1.jpeg
Picked up the front license plate bracket from Swarfworks that clamps onto a tow hook so I can have a front license plate as required in WA.

In summary: this thing is beefy. Built like an aluminum tank. While I appreciate the build quality, it’s a bit of a pain to install. You need to tighten up two nuts/bolts in the middle of the tow hook and there’s not a lot of space in there. Make sure you have some ratcheting wrenches if you’re installing this, as my sockets couldn’t fit height-wise.

Additionally, the bolts that hold the license plate itself have an Allen key head, which is baffling. I suppose it’s a minor security bump, but bit of a pain rather than using a Phillips or hex head like every factory license plate in existence. Good likelihood these will be replaced in the future.

Keen observers may have noticed a blunder on my part in the above picture: this holder perfectly blocks the Noco block heater outlet I installed last weekend. 🤦‍♂️

I can’t move the license plate holder to the drivers side without blocking the adaptive cruise control, so guess the Noco will be stylistic for now. Thankfully I don’t really need access to the block heater on any kind of remotely regular basis. Just if I travel somewhere cold enough.

Parts:
 
View attachment 37941Picked up the front license plate bracket from Swarfworks that clamps onto a tow hook so I can have a front license plate as required in WA.

In summary: this thing is beefy. Built like an aluminum tank. While I appreciate the build quality, it’s a bit of a pain to install. You need to tighten up two nuts/bolts in the middle of the tow hook and there’s not a lot of space in there. Make sure you have some ratcheting wrenches if you’re installing this, as my sockets couldn’t fit height-wise.

Additionally, the bolts that hold the license plate itself have an Allen key head, which is baffling. I suppose it’s a minor security bump, but bit of a pain rather than using a Phillips or hex head like every factory license plate in existence. Good likelihood these will be replaced in the future.

Keen observers may have noticed a blunder on my part in the above picture: this holder perfectly blocks the Noco block heater outlet I installed last weekend. 🤦‍♂️

I can’t move the license plate holder to the drivers side without blocking the adaptive cruise control, so guess the Noco will be stylistic for now. Thankfully I don’t really need access to the block heater on any kind of remotely regular basis. Just if I travel somewhere cold enough.

Parts:
Hopefully where ever you travel thats cold enough they dont require a front plate:)
 
For switch 5 I intend to add a fuse block that is powered by this switch (an idea mentioned by someone else here on the forum, unfortunately I don't remember who!). Between the battery and the fuse block, I will have a low voltage cut-off switch to protect the battery from running dead. I will also install a voltage gauge to allow me to monitor it and start the engine before the cut-off switch needs to kick in. The gauge will also be powered by the fuse block to ensure when the fuse block is turned off, the gauge is as well so it can't kill the battery.

I would love to be pointed to any battery gauges and/or cut-off switches you all can recommend or suggest.
Here is a LVD that I've used on an emergency vehicle. Had the 800mhz P25 and VHF radios on it.

They also make one with a timer that might be handy.
 
B237C4AD-9955-43FB-B952-ECA4C178BA12.jpeg
Outside installing the Diamondback cover on Shadowfax, and just discovered this on the front panel. :(

Obviously it took one hell of a hit during shipping. Will be reaching out to Diamondback for a new panel.
 
Well, after the disappointment of not being able to install the Diamondback cover, I moved onto the Amp Research side steps that I purchased with the July group buy! Time flies.

Install was fairly straightforward for both sides, though I wonder if their tap was wearing out or something. Had to fight with the two bolts that attach the main bracket to the hinge portion. They were making metal shavings as they went in, but definitely weren't cross-threaded.

Also nice bonus: despite the instructions stating you need to drill a hole in the truck for a support bracket, I found there were existing holes I could use. No drilling needed! No idea when this changed, but know that for 22MY there's no drilling necessary.

Edit: Worth noting that on the passenger side the existing holes barely lined up. The slot in the bracket needs to be 1/8” longer and it would work perfectly. Had to tap the bolts through with a mallet. Didn’t require significant force, but more than I could put on it with my hand.

I'll post up some pictures another day. Didn't get any today because by the time I finished it was dark and raining. Speaking of rain, I also learned just how holy the bed is. I figured I would be out of the rain when I rolled under the truck to install the passenger step, but instead found myself being constantly dripped on from all over. 🤦‍♂️

Parts:

Edit: Pictures! Only of the passenger side, but there’s a step on the drivers side as well. It looks identical.

5421FC19-523E-4F05-A605-6DD3687E8160.jpeg
1753AAD4-BB9F-41DF-A416-6199FEC69B53.jpeg
 
Last edited:
View attachment 41184Outside installing the Diamondback cover on Shadowfax, and just discovered this on the front panel. :(

Obviously it took one hell of a hit during shipping. Will be reaching out to Diamondback for a new panel.
I think you have been spending too much virtual time with @BroncoHooves

Sorry, man that really stinks... :(
 
Back
Top