After consideration I ended up going with the FitcamX.
A few driving factors:
- Amazon briefly went out of stock of the Sapium front + rear combo. A day later they were back but delivery was out a month+ (and I didnt want to wait..). Still showing April 10-30 on Amazon.
- Amazon is the only place you can find the Sapium one. They dont have a website and no other search references this brand.
- Fear of the pulsing blue light. haha
- I prefer the centered view of the FitcamX over the offset view of the Sapium. Which would probably also interfere with my EZ-Pass. In it's current location the rearview mirror blocks it from my view.
There are a few compromises
- the Sapium can hold a larger SD car up to 1TB while Fitcamx can only do 256Gb. Which kind of sucks.
- Fitcamx accessories you have to buy separately.
I did follow the Sapium install video for routing the cables. However, I did take the passenger side A-Pillar off for hardwiring. I bought their harness so I could utilize park mode (needs a constant 12v). If you cut the OBD2 connector from the Sapium you could use this method (like discussed earlier).
Using the
2023 F350 Fuse Box Diagram and my multi meter, I ended up using Fuse Taps in the the interior fuse box under the glove box.
THE FUSE BOX IS UPSIDE DOWN IN THE TRUCK COMPARED TO THE DIAGRAM. This makes it extra confusing.
ACC : Fuse 36 (Manual Shift)
PWR + : Fuse 25 (Spare)
View attachment 250615 View attachment 250614
I would have used Fuse 13 (spare) for ACC but the wire leaving the tap for the constant PWR+ was in the way. And you want the Load side (connects to the accessory) of the circuit on the wire side. The other side of the fuse is the 12v Power side. If you plug these in wrong your acc load is added to the original fuse and not the new one. (Image below from
clavicus on Maverick Forums)
View attachment 250612
From the truck view of things. The constant 12v pwr and the acc pwr are on opposing sides. I verified this with the multimeter before inserting any fuses. You should also do the same!! Plug in the tap w/o fuses and verify which side gets power.
Also note there are 3 push tabs on the side of the fuse box that let you rotate down the box to work with it easier. One on the left and 2 on the rear side (seat side) (top of this image as it rotates down toward you).
View attachment 250613
Used this post here for the ground
View attachment 250617
There are convenient clips already part of the OEM clips that you can route the wire down.
View attachment 250619
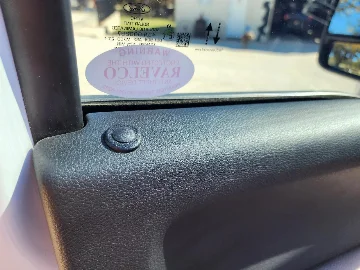
Use the multi bend pick to pop the handle cover off so you dont scratch the trim piece. I used the 90* first and scratched it. But the material is weird and you can smooth is back out with the round part (side). That tiny hole is OEM.
View attachment 250620View attachment 250622View attachment 250623View attachment 250624
How I routed the cables. Black is power and the Gray is the rear cam.
View attachment 250625
All 3 wires fit in the OEM hole on the black plastic cover
View attachment 250626
Rear cam on the drivers side as the power window would cover the passenger side.
View attachment 250618




 If your camera can't capture a license plate clearly at night, which the Fitcam will struggle with, then is it really worth the OEM look? Only those that buy it can answer that question.