22 Black Bear 🐻 Build

legmar

Tremor Addict
TOTM Winner
GB Organizer 📢
Founding Member
Joined
Sep 16, 2020
Messages
1,667
Reaction Points
4,330
Location
Austin, TX
Current Ride
Black 2022 F-350 Platinum Tremor 6.7
Current Ride #2
1999 Toyota Camry Solara SLE
I am excited to introduce my new purchase from Granger! I’m back home in Texas with my 2022 F-350 6.7 Platinum Tremor. 😃 🛻
The new truck will be named Black Bear. 🐻

I traded my 21 (previous build thread… https://www.fordtremor.com/threads/picked-up-my-f-350-platinum-today-with-winch.2565/) for a 22 with the same options plus the 5th wheel prep. (Just in case). The main driver for this decision was that I didn’t like the the weld Ford was doing for the rear axle recall on the 21s. Also, in this market, I was able to secure the new truck for about 2k out of pocket.

I’m stoked to begin my projects and upgrades! I’ll post updates here with each adventure.

List of Currently Completed Upgrades
  1. Factor55 ProLink E replacement winch hook
  2. LINE-X Spray In Bed Liner - used the XS-350 chemical (some call this Platinum)
  3. Noco bumper plug for engine block heater
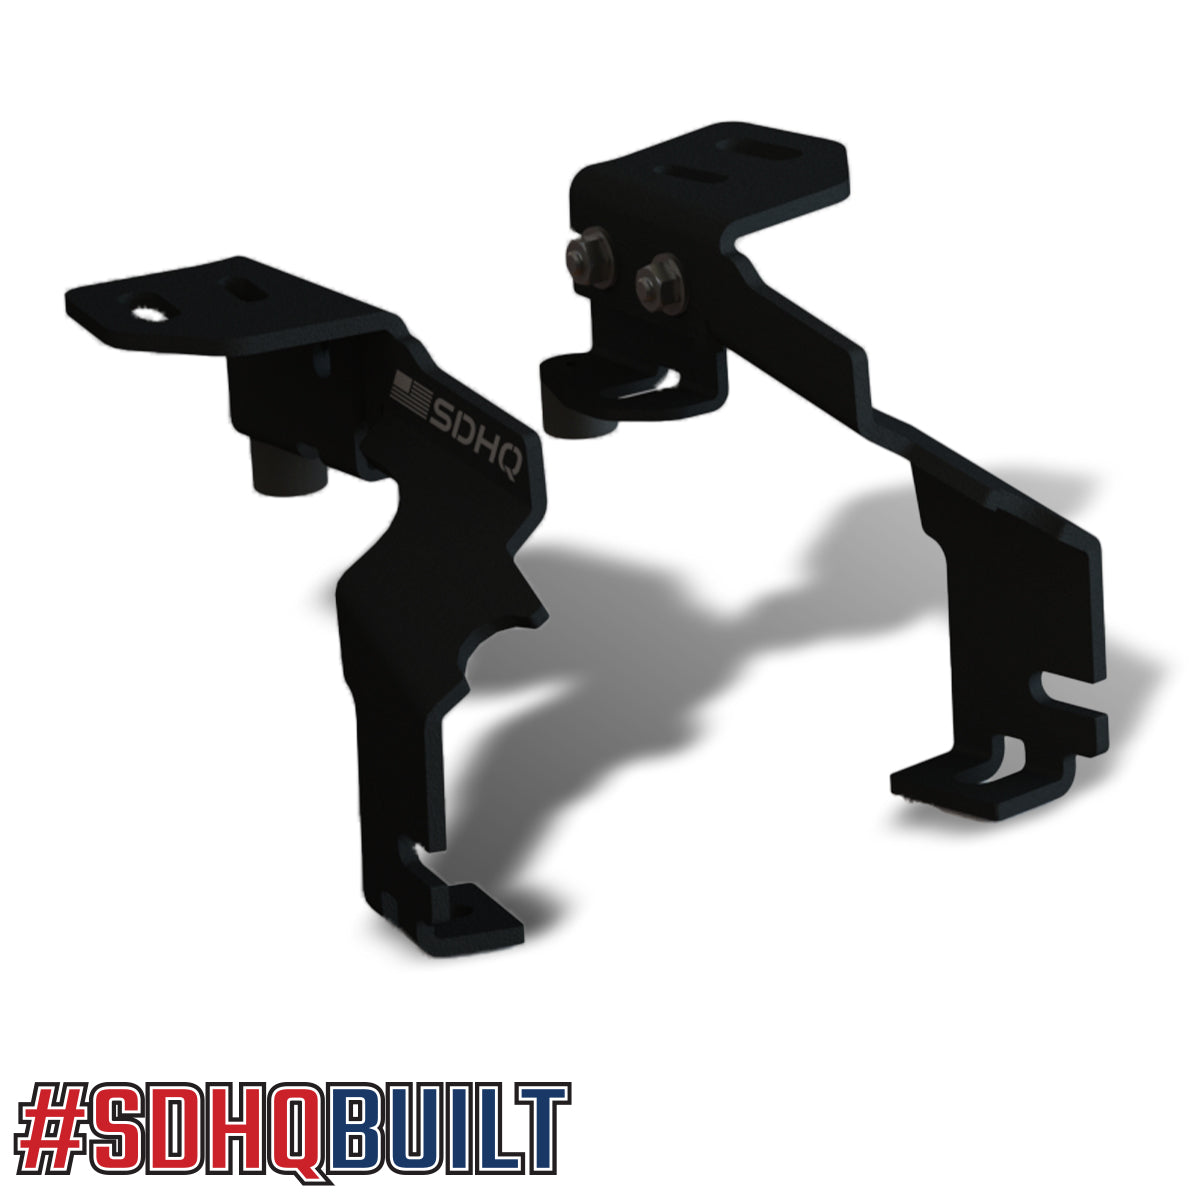
  4. Upfitter Switch #1: KC HiLiTES C-Series C3 LED Pods on BAM 360 Swivel mounts on SDQH A-Pillar Brackets
  5. BullRingUSA #4025 tie-down anchors for bed
  6. Truck Gear by LINE-X TG97330 LXP Hard Folding Tonneau Cover (rebranded BAKFlip MX4)
  7. Upfitter Switch #6 (always hot): ZFlash BCM
  8. Car Console Covers Plus Made in USA Neoprene Center Armrest Console Cover
  9. 12" OCD Plug Screen Protector
  10. Upfitter Switch #3: ARB Twin Air Compressor CKMTA12 installed on BuiltRight bed panel
  11. ARB Pressure Control Module Installed above Spare Tire
  12. Boss Air Suspensions 3 gallon air tank
  13. Wicked Warnings Mirror White Spotlight Flood/Strobe speed override kit
  14. BlueSea SafetyHub 150 Fuse Block on BuiltRight bed panel
  15. Midland GMRS MXT575 Radio
  16. BulletProof Heavy Duty 6" Drop Hitch for 3" Receiver
  17. UBL Color Flood Minis under Rear Bumper on Legmar Bumper Brackets
  18. Costco 5lb Fire Extinguisher on BuiltRight bed panel
  19. Element Handheld Fire Extinguishers on Driver and Passenger Sides of Cab
  20. DRW Rear Combo "Brake/Running Light" bar using the Limitless Harness
  21. Husky 25 Gal. Connect Rolling Tool Box in Bed for Recovery Equipment
  22. Husky 5 Gal Professional Duty Container for Air Hoses and Couplers
  23. Fused BlueSea Terminals on the Rear Bumper
  24. Raptor style grill LEDs from Custom Auto Works
  25. K&N cabin air filter
  26. HornBlasters Safety Air Horn
  27. Dual Odyssey Extreme AGM ODY ODXAGM65 Batteries
  28. MPower ORV Chase Light with White/Amber/Amber Strobe
  29. SunTek Ceramic Tint (legal limit - including "limo tint" on rear doors and back glass)

E49D6217-6EB7-4927-9D09-015A4CE5B0EC.jpeg
 
Last edited:
I am excited to introduce my new purchase from Granger! I’m back home in Texas with my 2022 F-350 6.7 Platinum Tremor. 😃 🛻
The new truck will be named Black Bear. 🐻

I traded my 21 for a 22 with the same options plus the 5th wheel prep. (Just in case). The main driver for this decision was that I didn’t like the the weld Ford was doing for the rear axle recall on the 21s. Also, in this market, I was able to secure the new truck for about 2k out of pocket.

I’m stoked to begin my projects and upgrades! I’ll post updates here with each adventure.

View attachment 48149
Thats a great looking truck!
 
First upgrade!! Got a Factor55 ProLink E from @7.3Tremor

This replaces the factory hook to allow for closed system winching.

Install was super easy. Need some needle nose pliers to remove the factory hook and then need a pair of snap ring pliers to install the ProLink E. Takes about 5 minutes. I love that this allows the winch rope to be rolled inside and protected from the elements.

31510A91-67C8-48C8-BE79-BBA10A46DF17.jpeg

4672A95C-2795-40BA-AE6B-B69B56CEB3BE.jpeg
 
Last edited:
Had time this weekend to get to my second upgrade as well! Installed a Noco plug in the bumper trim and connected it to the cord for the engine block heater. No more searching for the cord in the cold!

C6177FD3-8C8A-41F1-9596-56F26A16D633.jpeg

98D4DBDF-0F63-4F9D-8D98-D6EF47BF389D.jpeg

Install was pretty straightforward. The trim is held on with clips. It pulls off with now tools. (Start pulling out in the side next to the winch lever)

I wrapped the Noco cord inside some plastic conduit to protect it and zip tied everything out of the way in the back side of the bumper. The screws that came with the Noco are self drilling and easily secured the Noco to the bumper trim. If it gets loose over time I’ll replace the screws with some bolts.

DABAAFD4-70CE-48C3-80D3-BF97EA87C85F.jpeg

7C9F1BD9-2528-4E4A-8CBF-1841E460E5D5.jpeg

I used a 2” hole saw blade which worked as a perfect size to hold the Noco.
7B50D00D-BB66-47D8-A6F2-98A632A2450F.jpeg

ED85D919-CD0F-4B4F-8208-DDD24601B33F.jpeg
 
Had time this weekend to get to my second upgrade as well! Installed a Noco plug in the bumper trim and connected it to the cord for the engine block heater. No more searching for the cord in the cold!
Got this one on the list to do as well. Great pics and descriptions.
 
Nice work! I need to do this too. I have all the items, but it's been crappy weather each time I have a chance. What side hole saw did you use?
 
Nice work! I need to do this too. I have all the items, but it's been crappy weather each time I have a chance. What side hole saw did you use?
Thanks! For cutting the hole in the trim, I just used this blade on my standard dewalt hand drill.

 
Thanks! For cutting the hole in the trim, I just used this blade on my standard dewalt hand drill.

Great! I could not remember what size that needed. I think all my hole saws are much too big. I need to pick-up a two incher.
 
Nice work! I need to do this too. I have all the items, but it's been crappy weather each time I have a chance

Me too... it's been sitting there in a lonely box for a long time now.

Love the name, BTW!!!
 
This weekend I installed my…

3" C-Series C3 LED Pair Pack System​


Wired to upfitter switch 1. Had to cut the included wiring harness where it split into the yellow wire. All you need is the red and black. Ground the black and connect the red to the upfitter directly. Was able to run the light harness between the pods under the plastic cowling at the base of the windshield.

I mounted the pods on a pair of SDHQ brackets. Love them. Very well built. Getting them aligned proves to be a chore though. There is only about 1 mm of clearance on either side. Another thing to note, there is a rubber isolator in the current version of these brackets. The version I bought last year seems to have a metal clamp instead. Not sure which is better…? I have a digital copy of the older instructions for the metal clamp if anyone wants it.


I also just dropped off the truck for a Platinum (XS-350) Linex Spray. I took some pics of the light pods as I dropped it off.

F476337C-6F2D-4182-BFB8-F65E6E301FFF.jpeg

1494A782-D8E4-464D-88A3-8EAE4DFAAC19.jpeg

C59A4560-CDB6-49B6-9ED0-6AAA5452CF4B.jpeg

CD89429B-E58E-4F14-B175-4F5D11F627F4.jpeg

FB8A67B4-5327-4356-85C4-99F0CB9B02DF.jpeg

5A810F86-AB73-4E4A-8704-D501BD9C23C7.jpeg


Huge thanks to @DIY10-85RAY for his YouTube video walking us through the install of the brackets!
 
Last edited:
So, a random note… don’t try to register your vehicle in-state if you bought it out of state and have yet to get an in-state inspection. 🙄
I went to my local county tax office in Texas and was told I needed an inspection from Texas, not Iowa. Silly me… I didn’t realize a brand new vehicle required an inspection.
 
Got the truck back from Mike at Linex of Round Rock. I love the work he and Dan do at that shop. Great, honest guys.

Linex sprays come in standard, premium, and platinum. Premium is standard with a UV protective top coat. Platinum is a different chemical called XS-350 and is 300% stronger than the standard chemical! At $940 it’s not cheap, but I think it’s worth it on these trucks.

13A74FE8-05DD-4105-9634-7308A1485E80.jpeg
3C53D12A-6D96-46EB-9552-5CE8488F8B05.jpeg
D322A164-ACD4-4571-8322-6E22FDA075A8.jpeg
04300604-4D66-498E-831E-FDFBA87AF6FE.jpeg
BF8D4BA4-1B96-492B-A22C-86EA99867ED8.jpeg
5E889C00-0910-4CAB-B2F0-EF8BCA1454D9.jpeg
 
Had time this weekend to get to my second upgrade as well! Installed a Noco plug in the bumper trim and connected it to the cord for the engine block heater. No more searching for the cord in the cold!

View attachment 48155
View attachment 48156
Install was pretty straightforward. The trim is held on with clips. It pulls off with now tools. (Start pulling out in the side next to the winch lever)

I wrapped the Noco cord inside some plastic conduit to protect it and zip tied everything out of the way in the back side of the bumper. The screws that came with the Noco are self drilling and easily secured the Noco to the bumper trim. If it gets loose over time I’ll replace the screws with some bolts.

View attachment 48157
View attachment 48158
I used a 2” hole saw blade which worked as a perfect size to hold the Noco.
View attachment 48159
View attachment 48160
Looks great. I thought about buying the dual plug version and installing a battery tender to maintain the batteries at the same time.
 
Got the truck back from Mike at Linex of Round Rock. I love the work he and Dan do at that shop. Great, honest guys.

Linex sprays come in standard, premium, and platinum. Premium is standard with a UV protective top coat. Platinum is a different chemical called XS-350 and is 300% stronger than the standard chemical! At $940 it’s not cheap, but I think it’s worth it on these trucks.

View attachment 48859View attachment 48860View attachment 48861View attachment 48862View attachment 48863View attachment 48864
Line-X sure does an excellent job, don't they .. 👍 ..
 
Today I installed the TruckGear (Linex brand) Backflip MX4 tonneau cover from my old truck into the new Tremor. The cover and the truck are both a bit dusty (went camping last weekend). I do love this cover, and so does my wife! I like that the TruckGear version of this is sprayed with Linex at the factory. Matches the bed liner!


8B87AD25-24F8-48DA-B082-FCCB69BB5903.jpeg

28738567-826C-43DA-8A97-6D7B3E88D232.jpeg
37A262EE-4580-4E84-A312-6210CEDA79D3.jpeg
90925144-4765-46AB-A463-A1590C8C791D.jpeg
 
Got my Zflash BCM installed and connected to upfitter 6 (which i changed to always hot). This video shows how to access and use the pass through wire if that is helpful to anyone.


Latest Discussions

Back
Top