- Joined
- Dec 10, 2021
- Messages
- 57
- Reaction Points
- 89
- Location
- Long Island, NY
- Current Ride
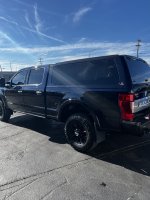
- 22' F-250 Platinum Tremor 6.7
- Current Ride #2
- 06' BMW M3 ZCP
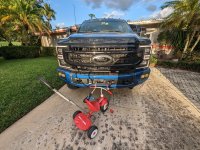
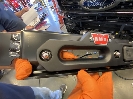
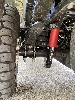
B&W Tow N Stow came in finally! 3" shank with the 7" drop tri ball head
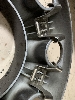
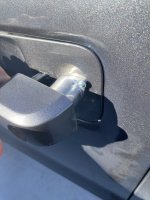
Bolt Locking pin
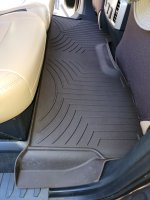
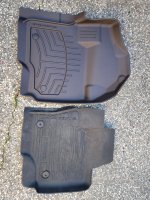
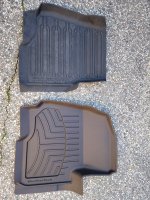
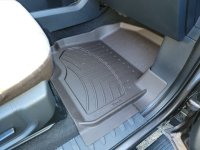
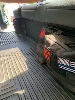
Husky X-act Contour mats (Ready to punt those OEM all weathers into the trash)


Bolt Locking pin
Husky X-act Contour mats (Ready to punt those OEM all weathers into the trash)


")