OP
OP

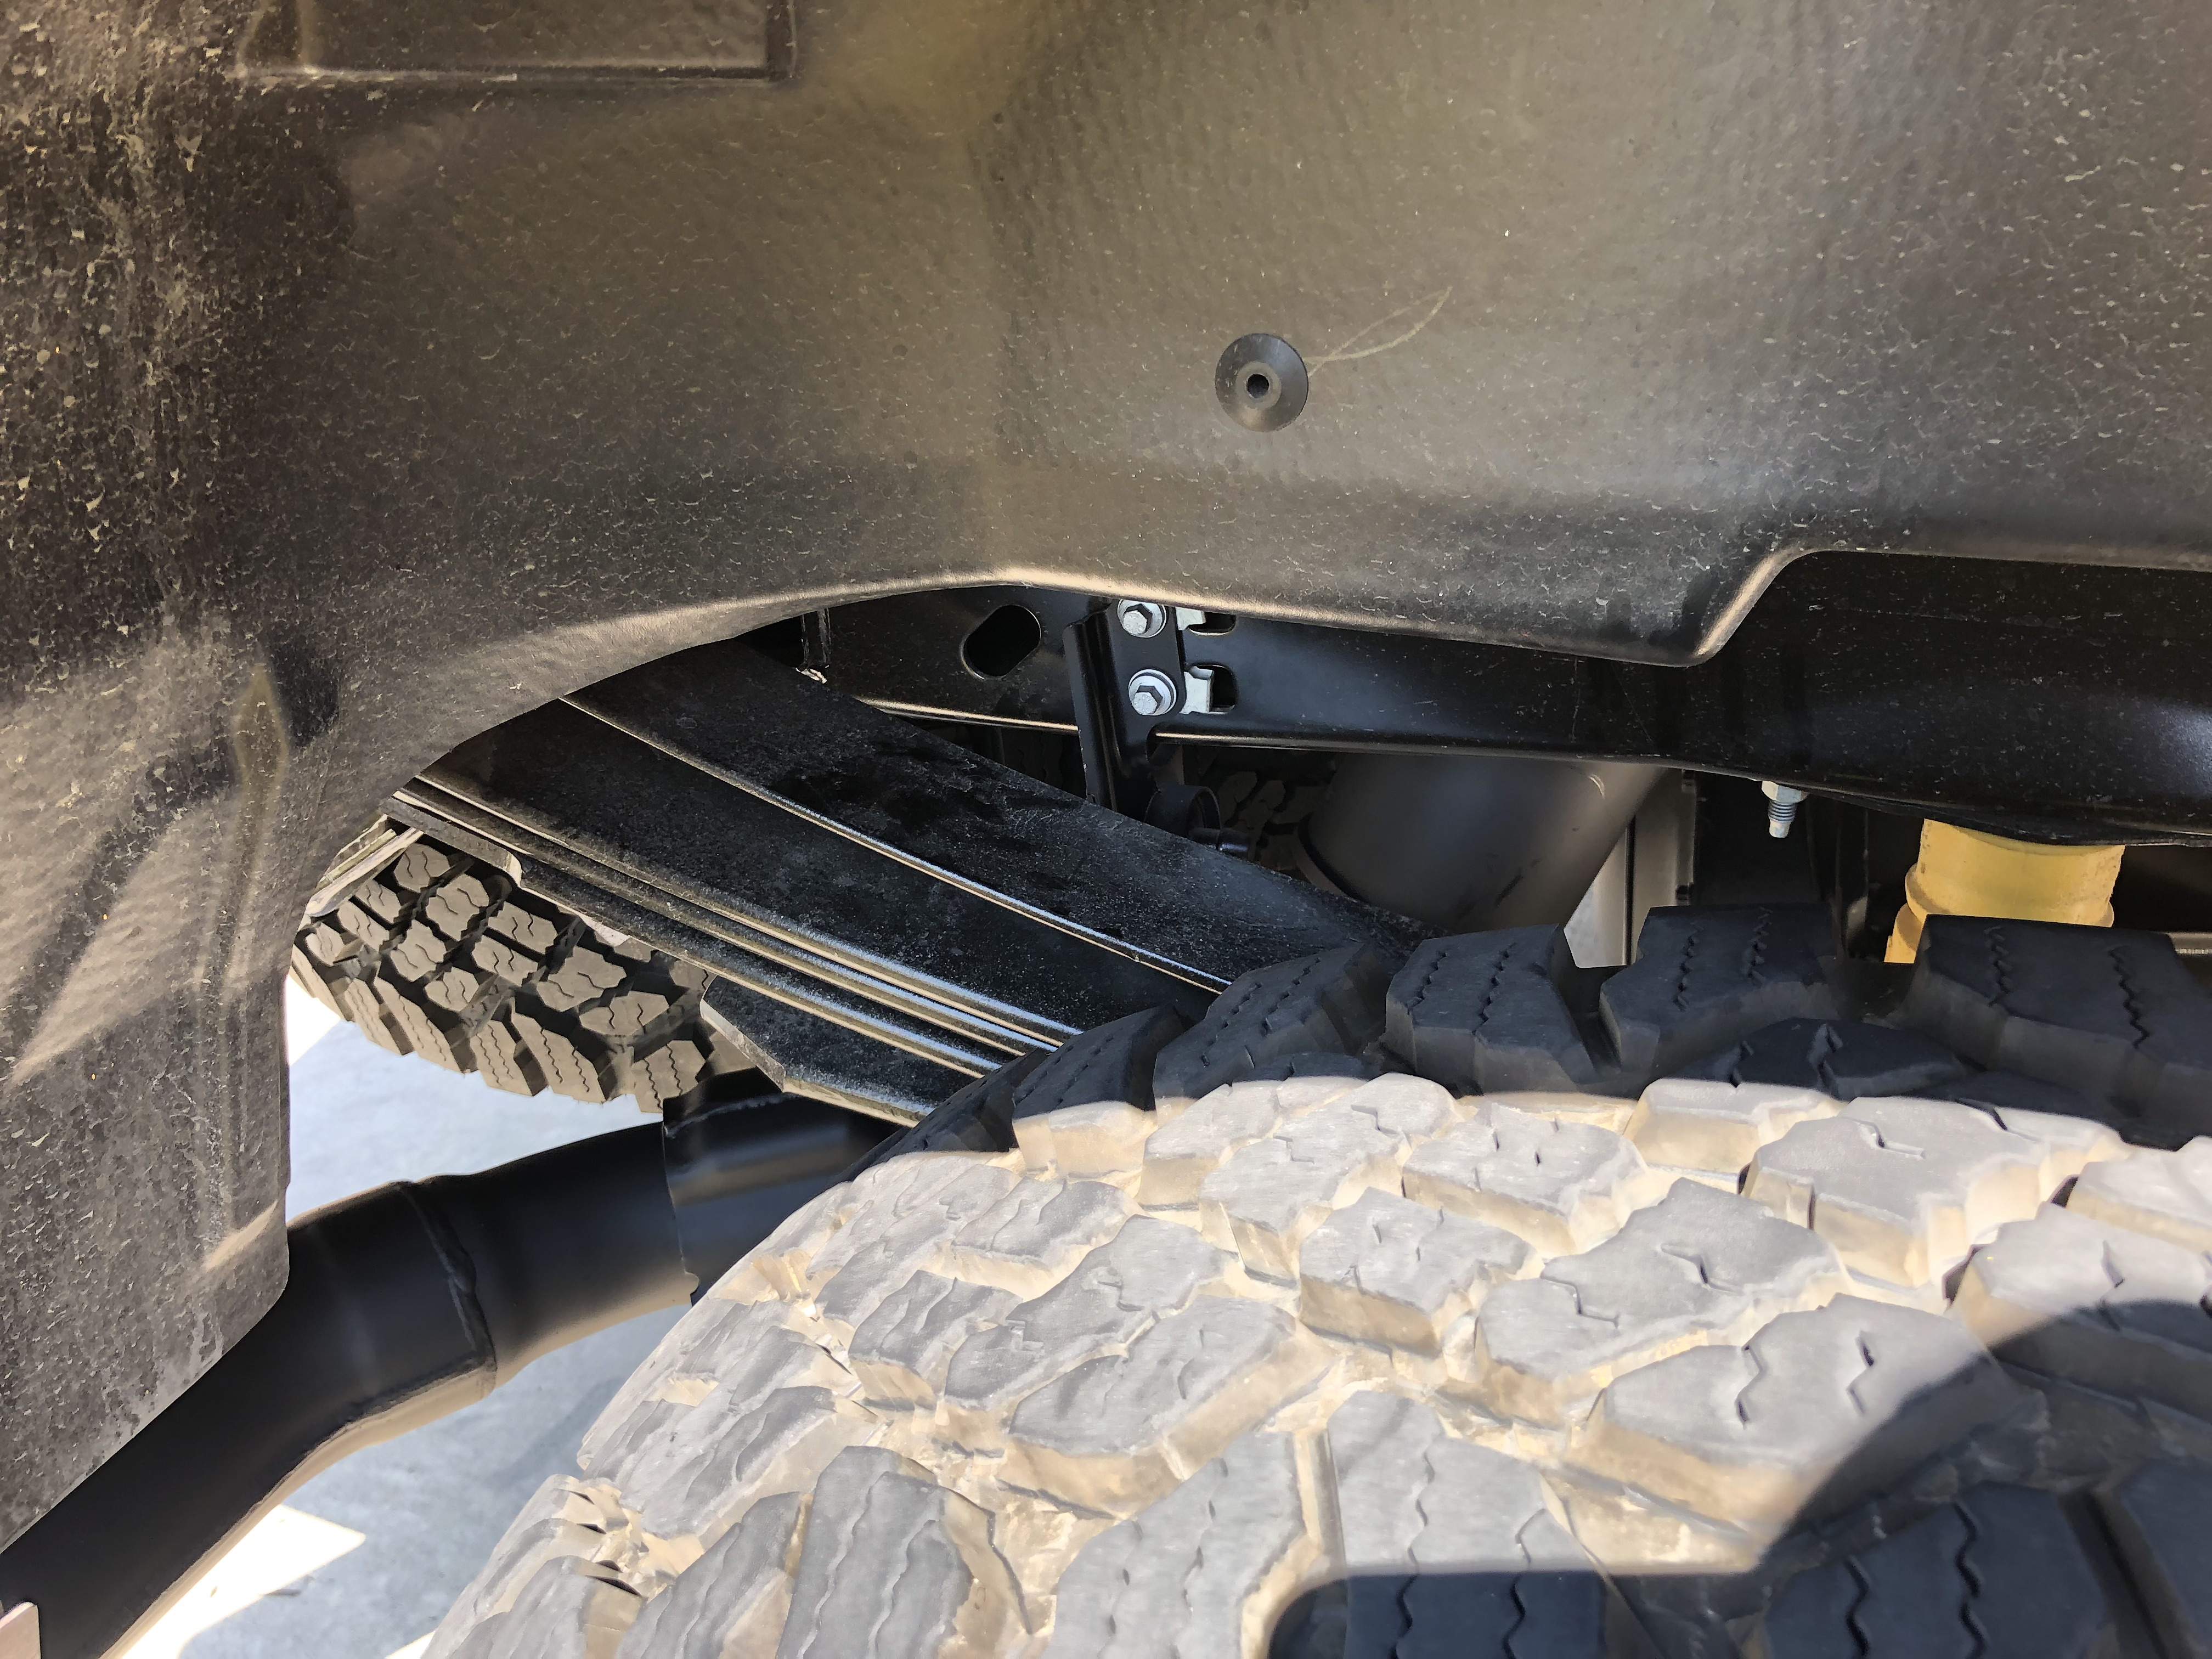
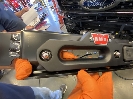
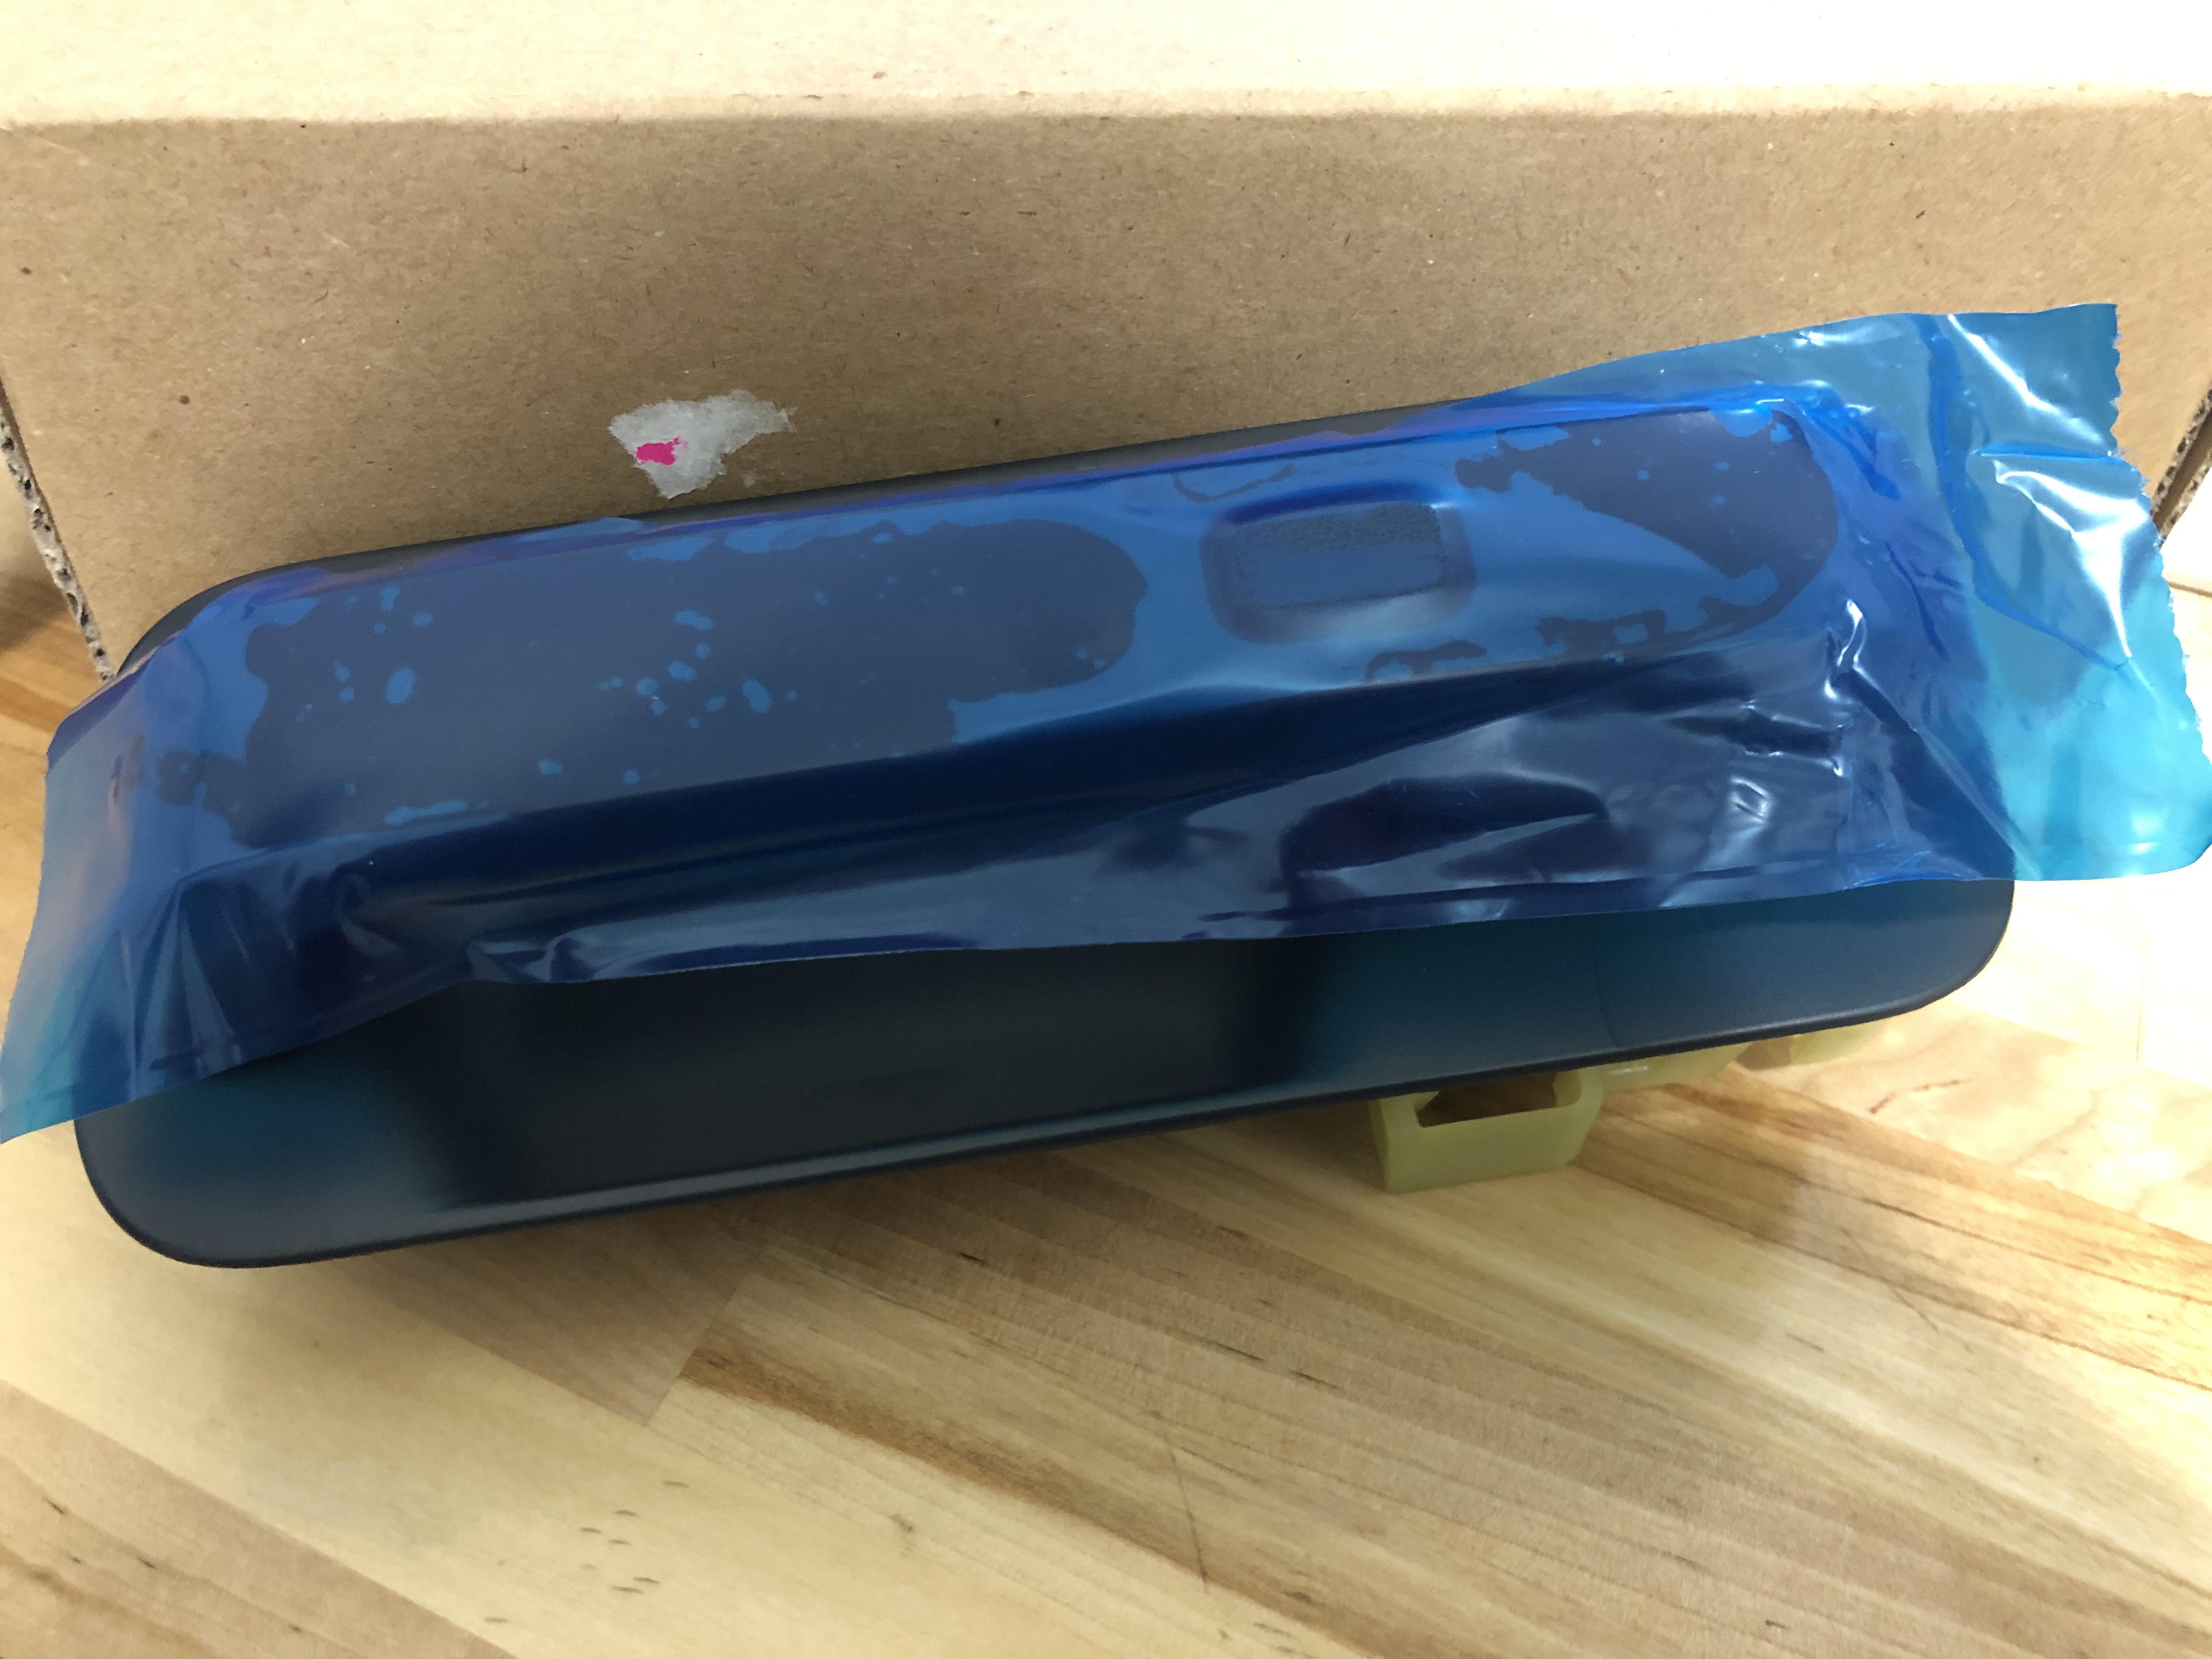
The leak seems to have stopped. Might've been remnants of fuel from when I changed the valve out, since the port is completely open to the inside cavity.
Follow along with the video below to see how to install our site as a web app on your home screen.
Note: This feature may not be available in some browsers.
You could get really sketchy since it’s dc and wire 4 of them in series and make a custom cable. You might start a fire or blow yourself up but it also might work.Anyone know of any extreme high current, flush mount connectors I could use for jump starting?
The Anderson forklift battery connectors are 350 amp I think, but probably won't work.
Nah, I'm goodYou might start a fire or blow yourself up but it also might work.
")
You could also try a military type nato slave cable connector those are for multiple battery 24v systems but since they are dc the connections should be the same with positive and negative.Nah, I'm good

 greenmountaingenerators.com
I probably won't bother with a remote connector if I go with Odyssey Extreme AGM batteries in the near future.You could also try a military type nato slave cable connector those are for multiple battery 24v systems but since they are dc the connections should be the same with positive and negative.
Slave Cable Plug NATO 1 Pin Style (500 Amp), 11682338 / AEC 2338 / 5935-00-567-0128 ⋆ Green Mountain Generators
Slave cable plug, rated 500 Amps, 28 Volts DC / 15 minutes; 1000 Amps, 28 Volts DC / 6 minutes. Meets requirements of MIL-PRF-62122D. NATO STANAG 4074. Rated ‐55°C to 100°C. Resistance to ozone & fungus. Copper alloy nickel finish contacts. More details: NATO 1 pin style (coaxial plug type) P/N...

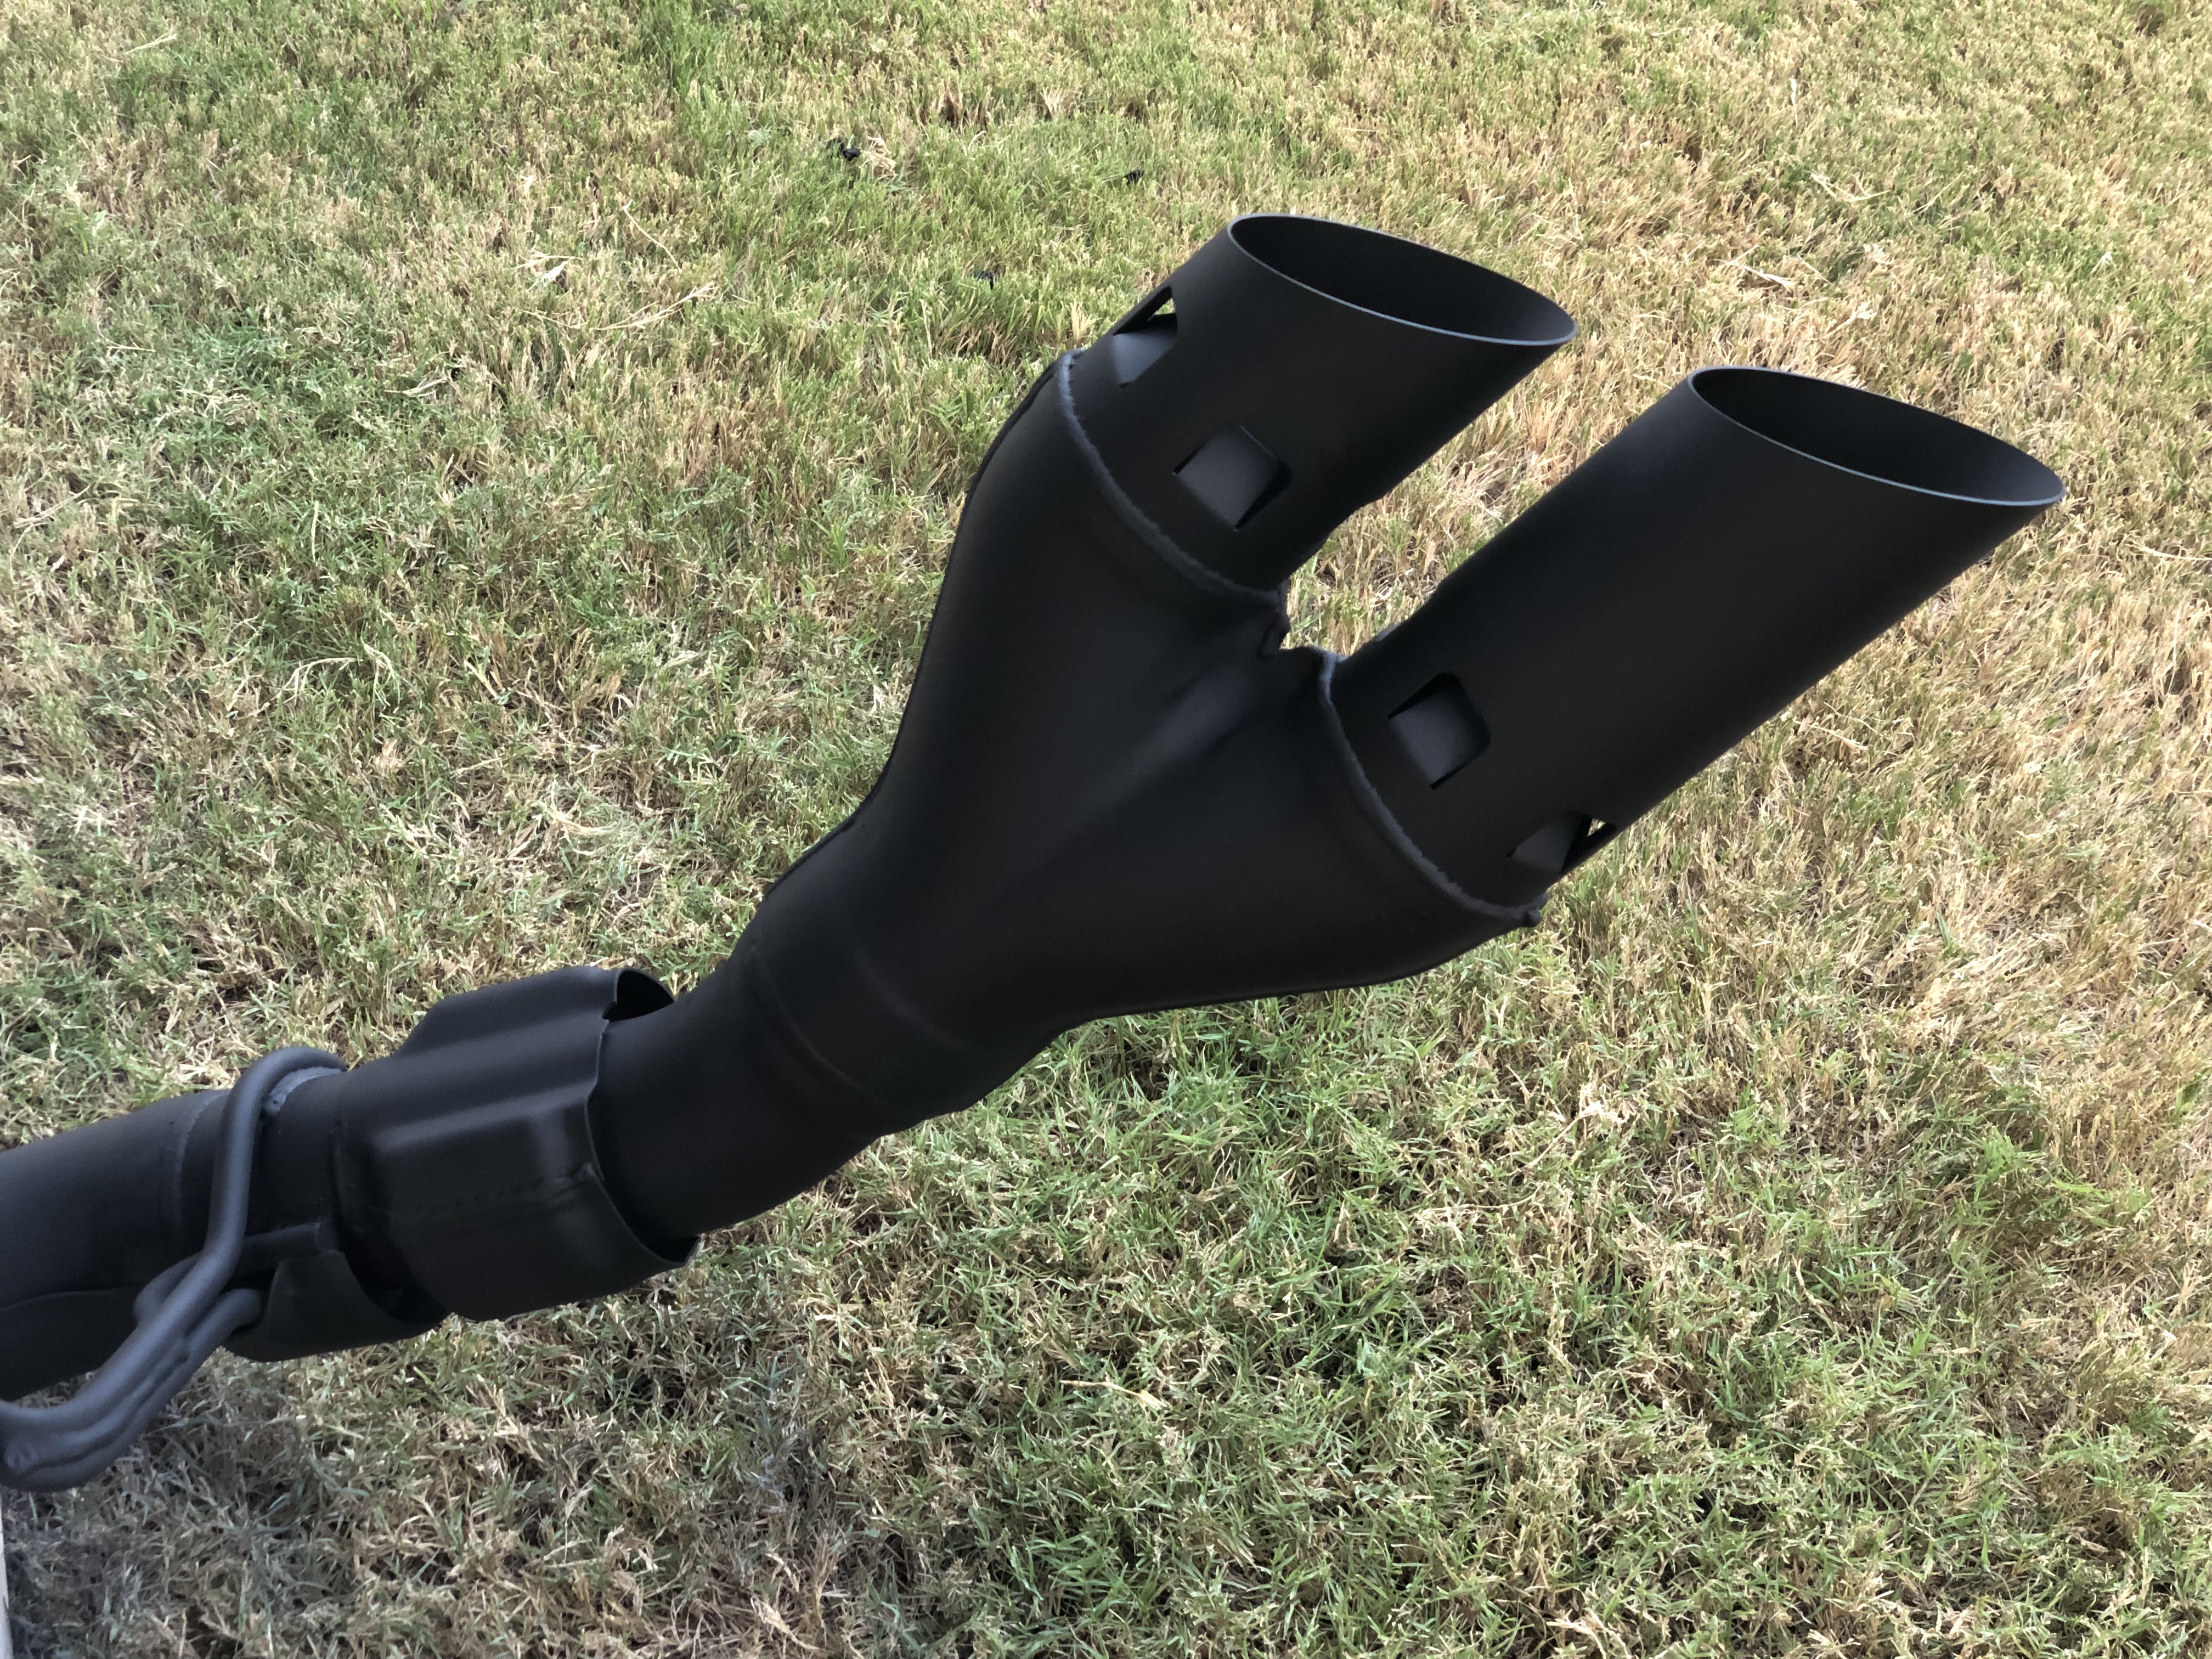
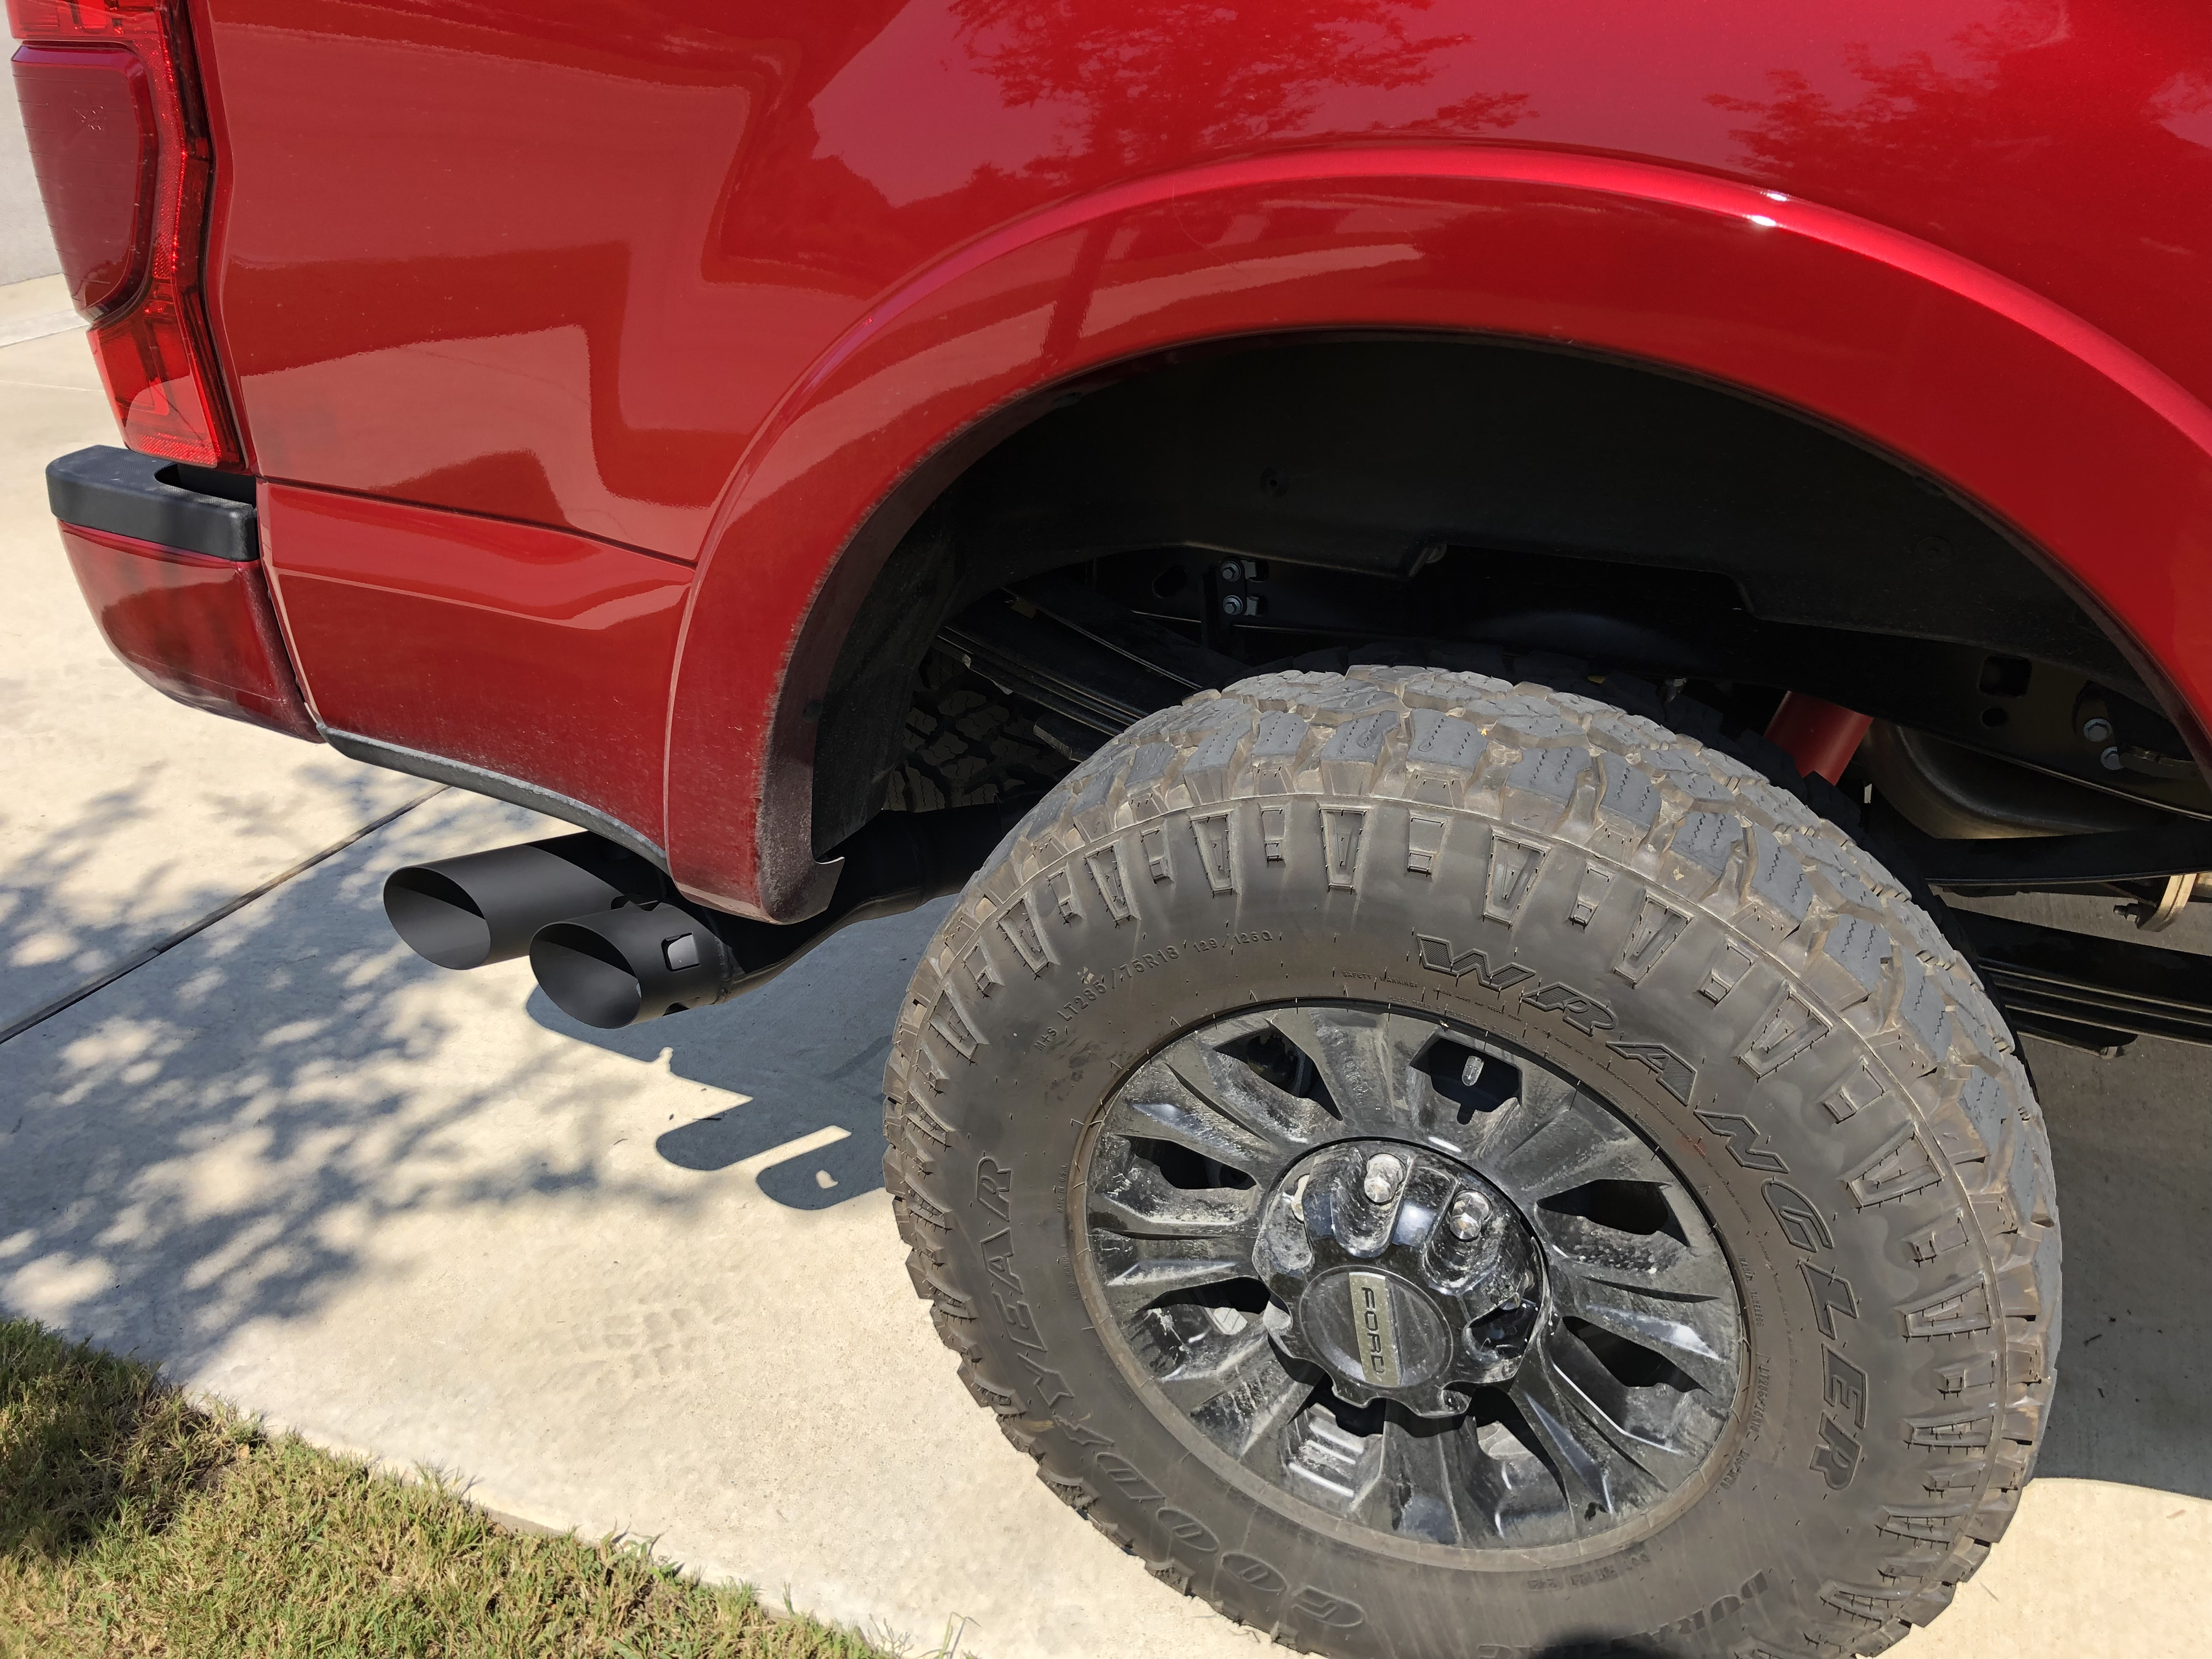
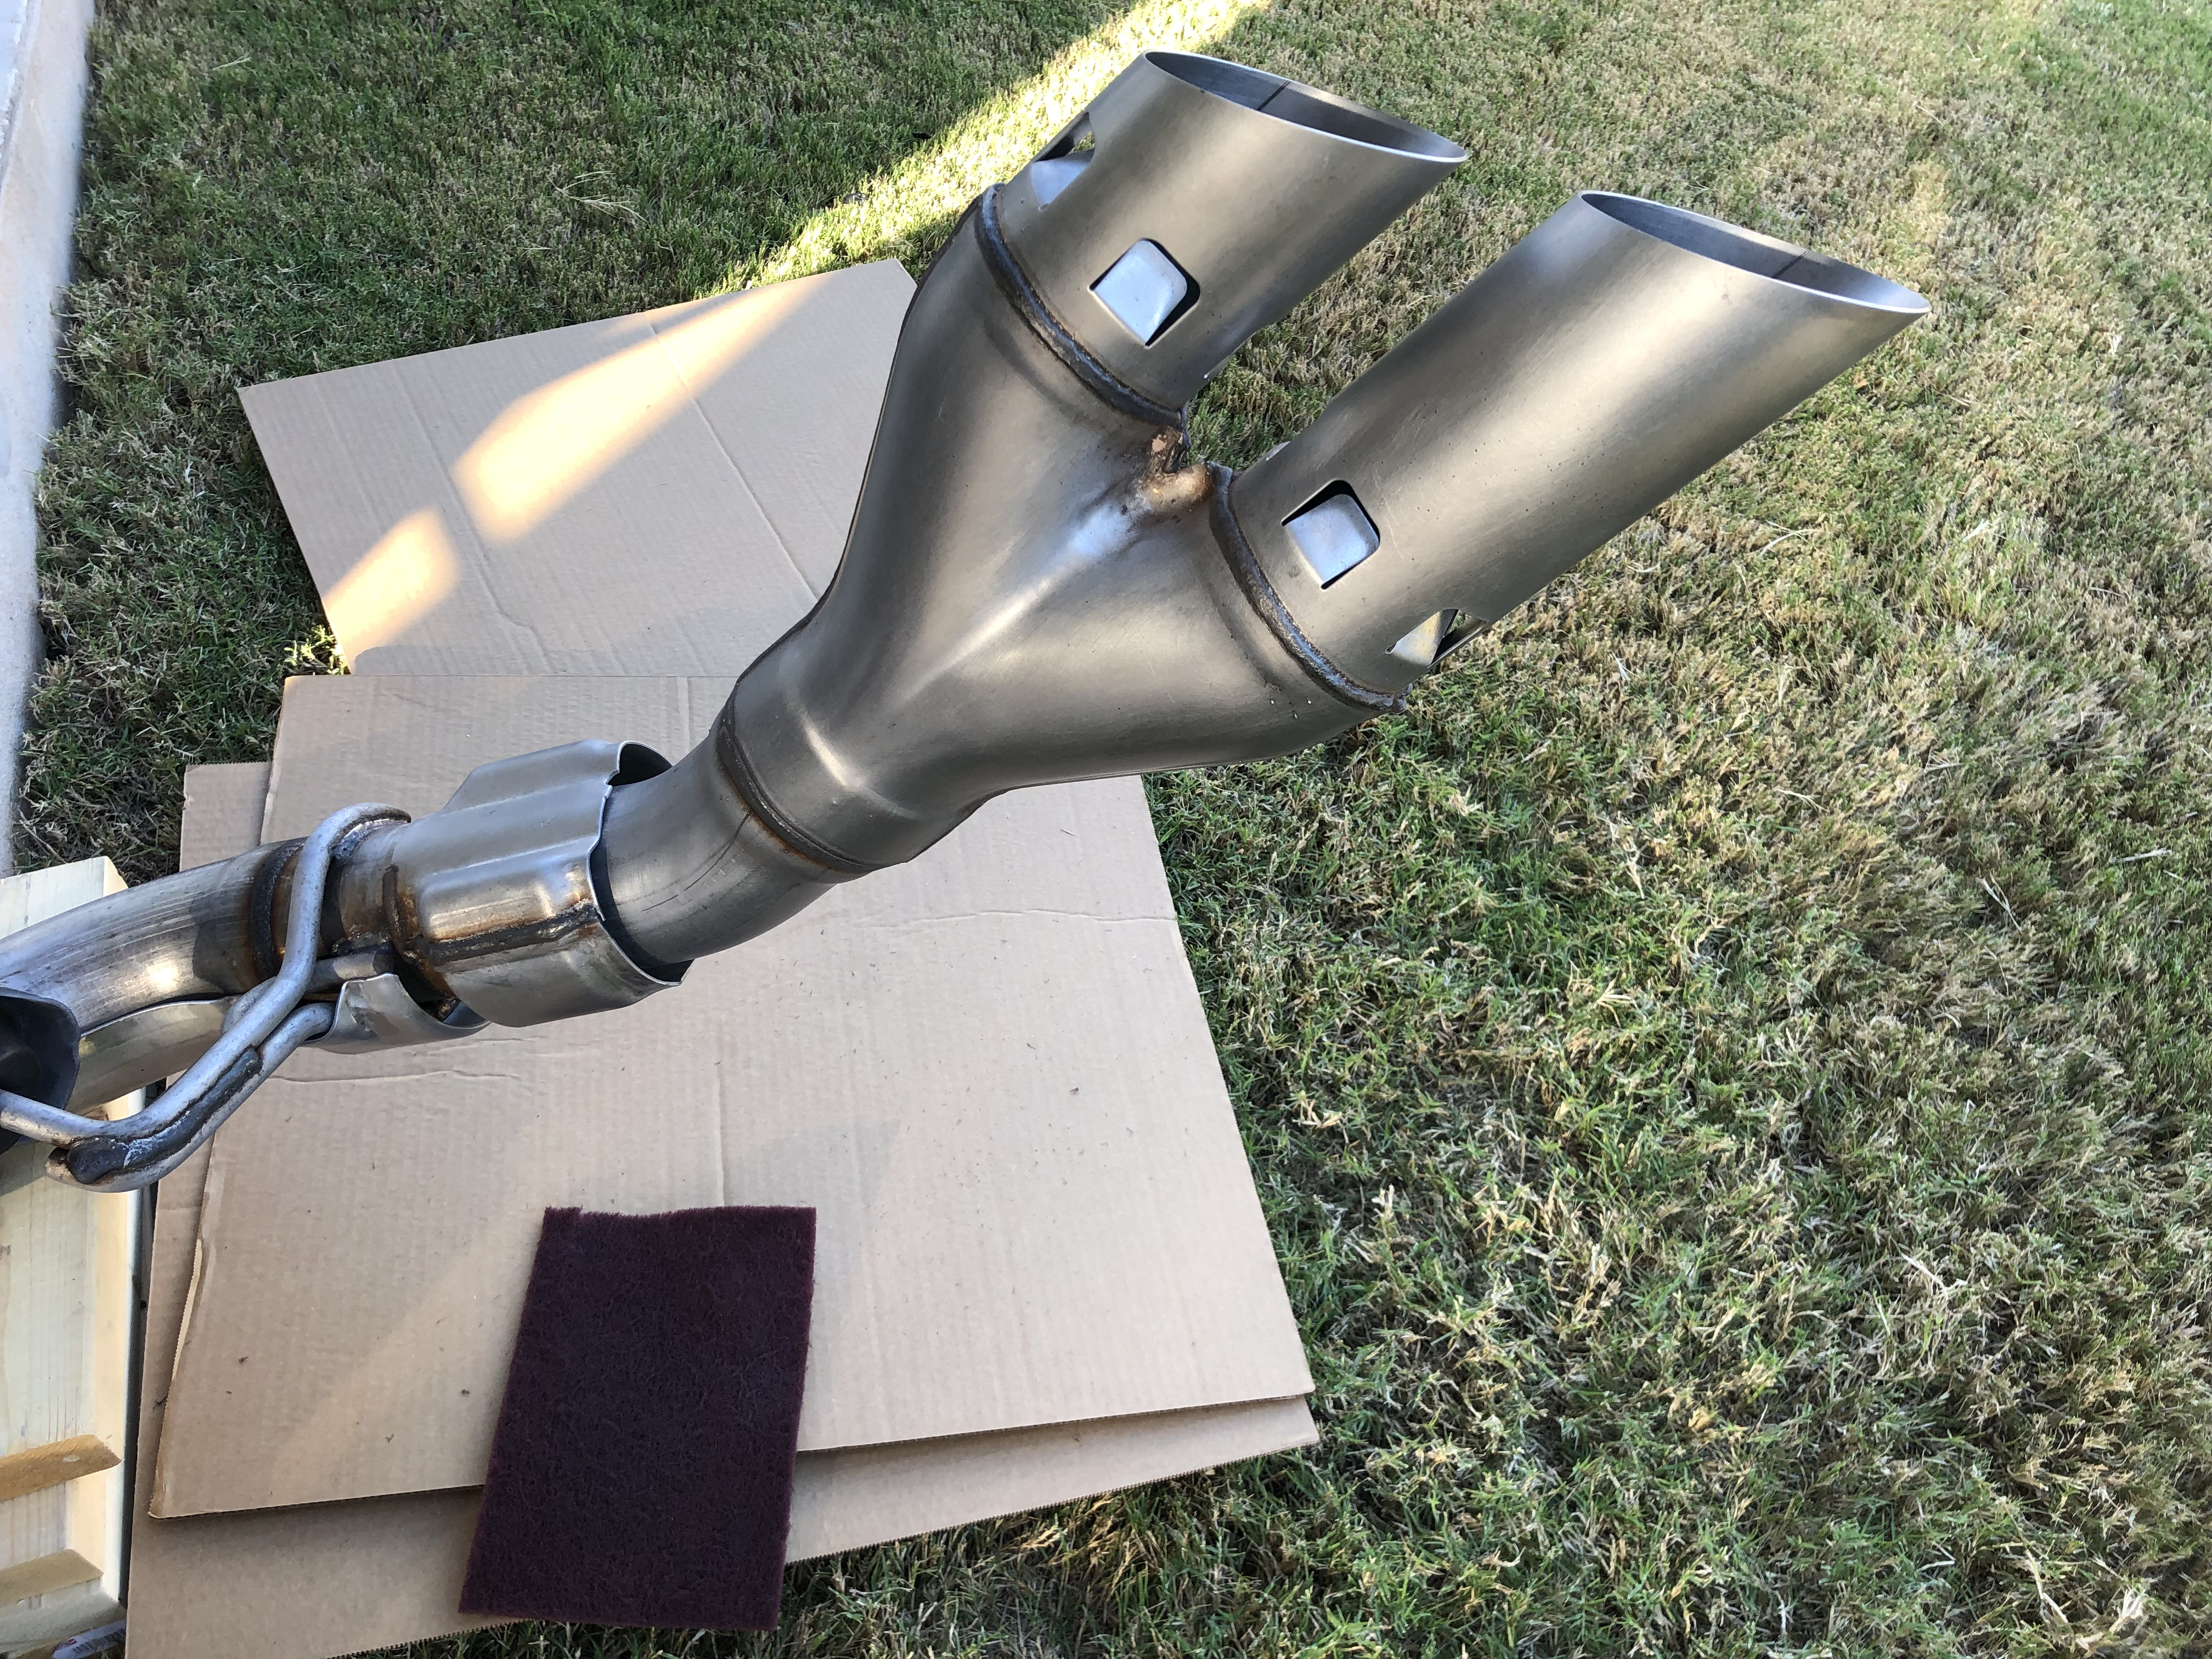
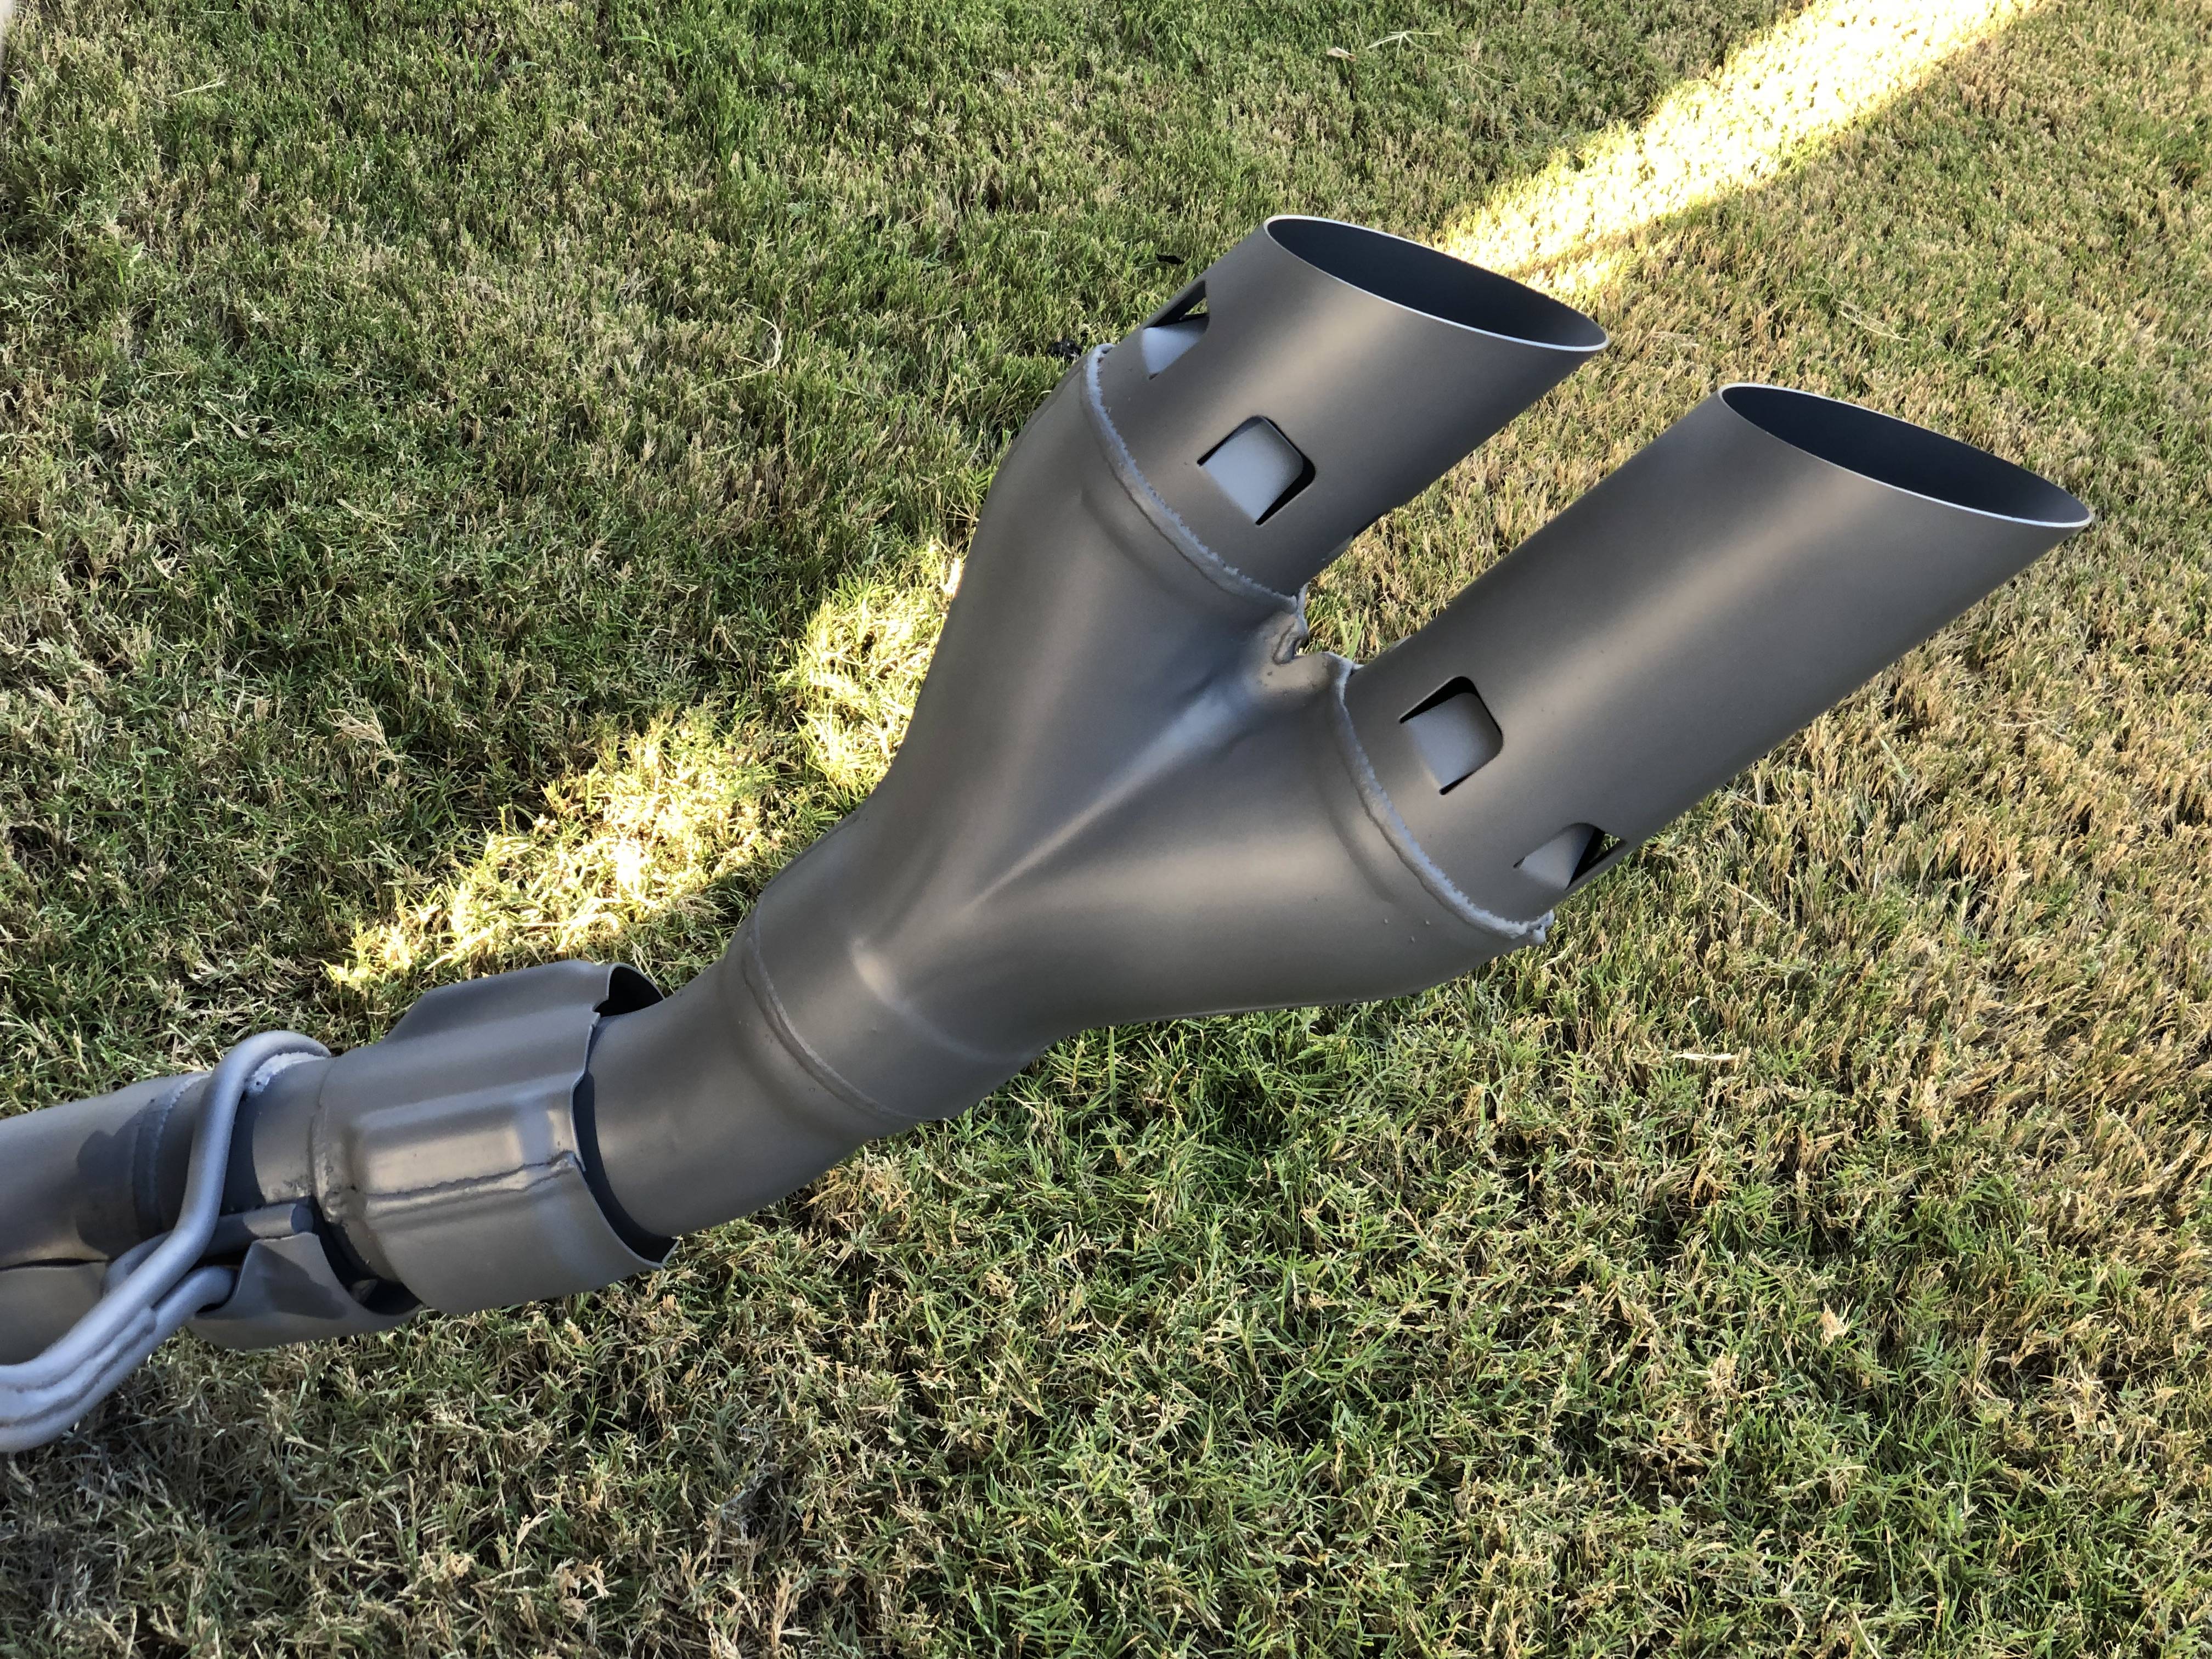
Did you paint the rear muffler too on the tailpiece assembly? I left it stock but thought I'd ask before I run out of paint.The matte was a little to matte for me. I am going to repaint with satin I think they would look better.
i left the muffler as its hard to see anyway. I painted the back portion.Did you paint the rear muffler too on the tailpiece assembly? I left it stock but thought I'd ask before I run out of paint.
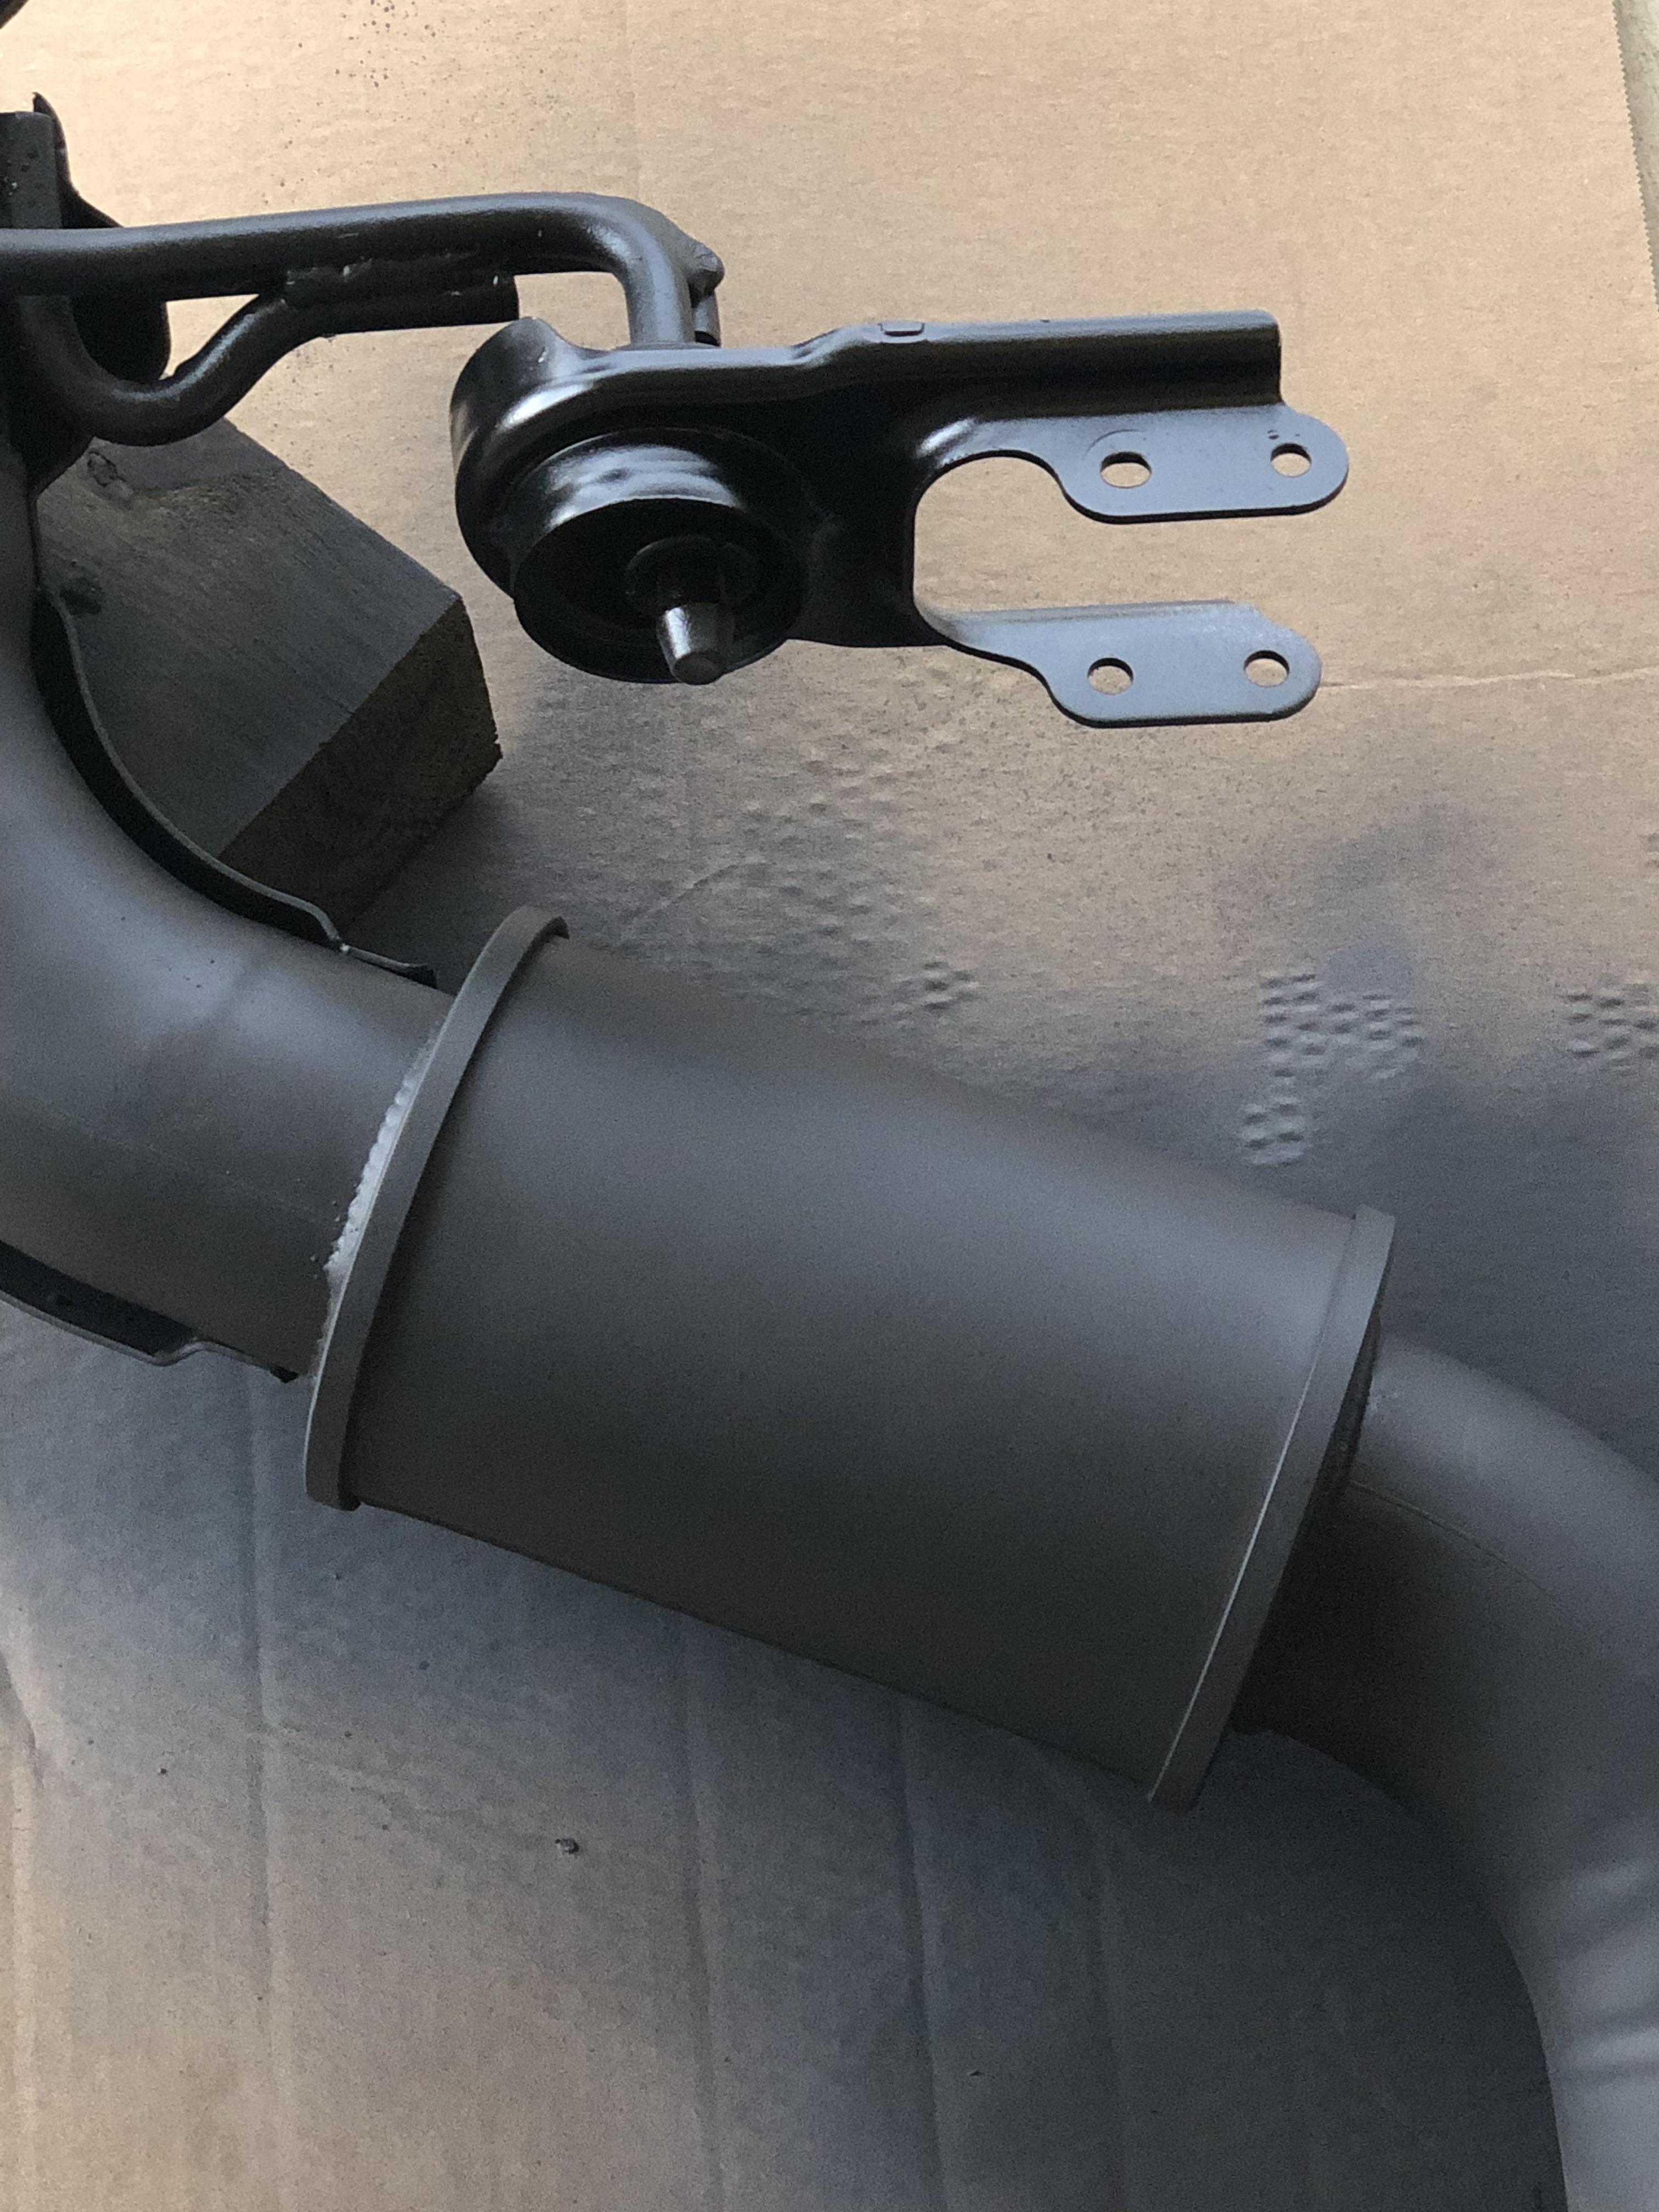
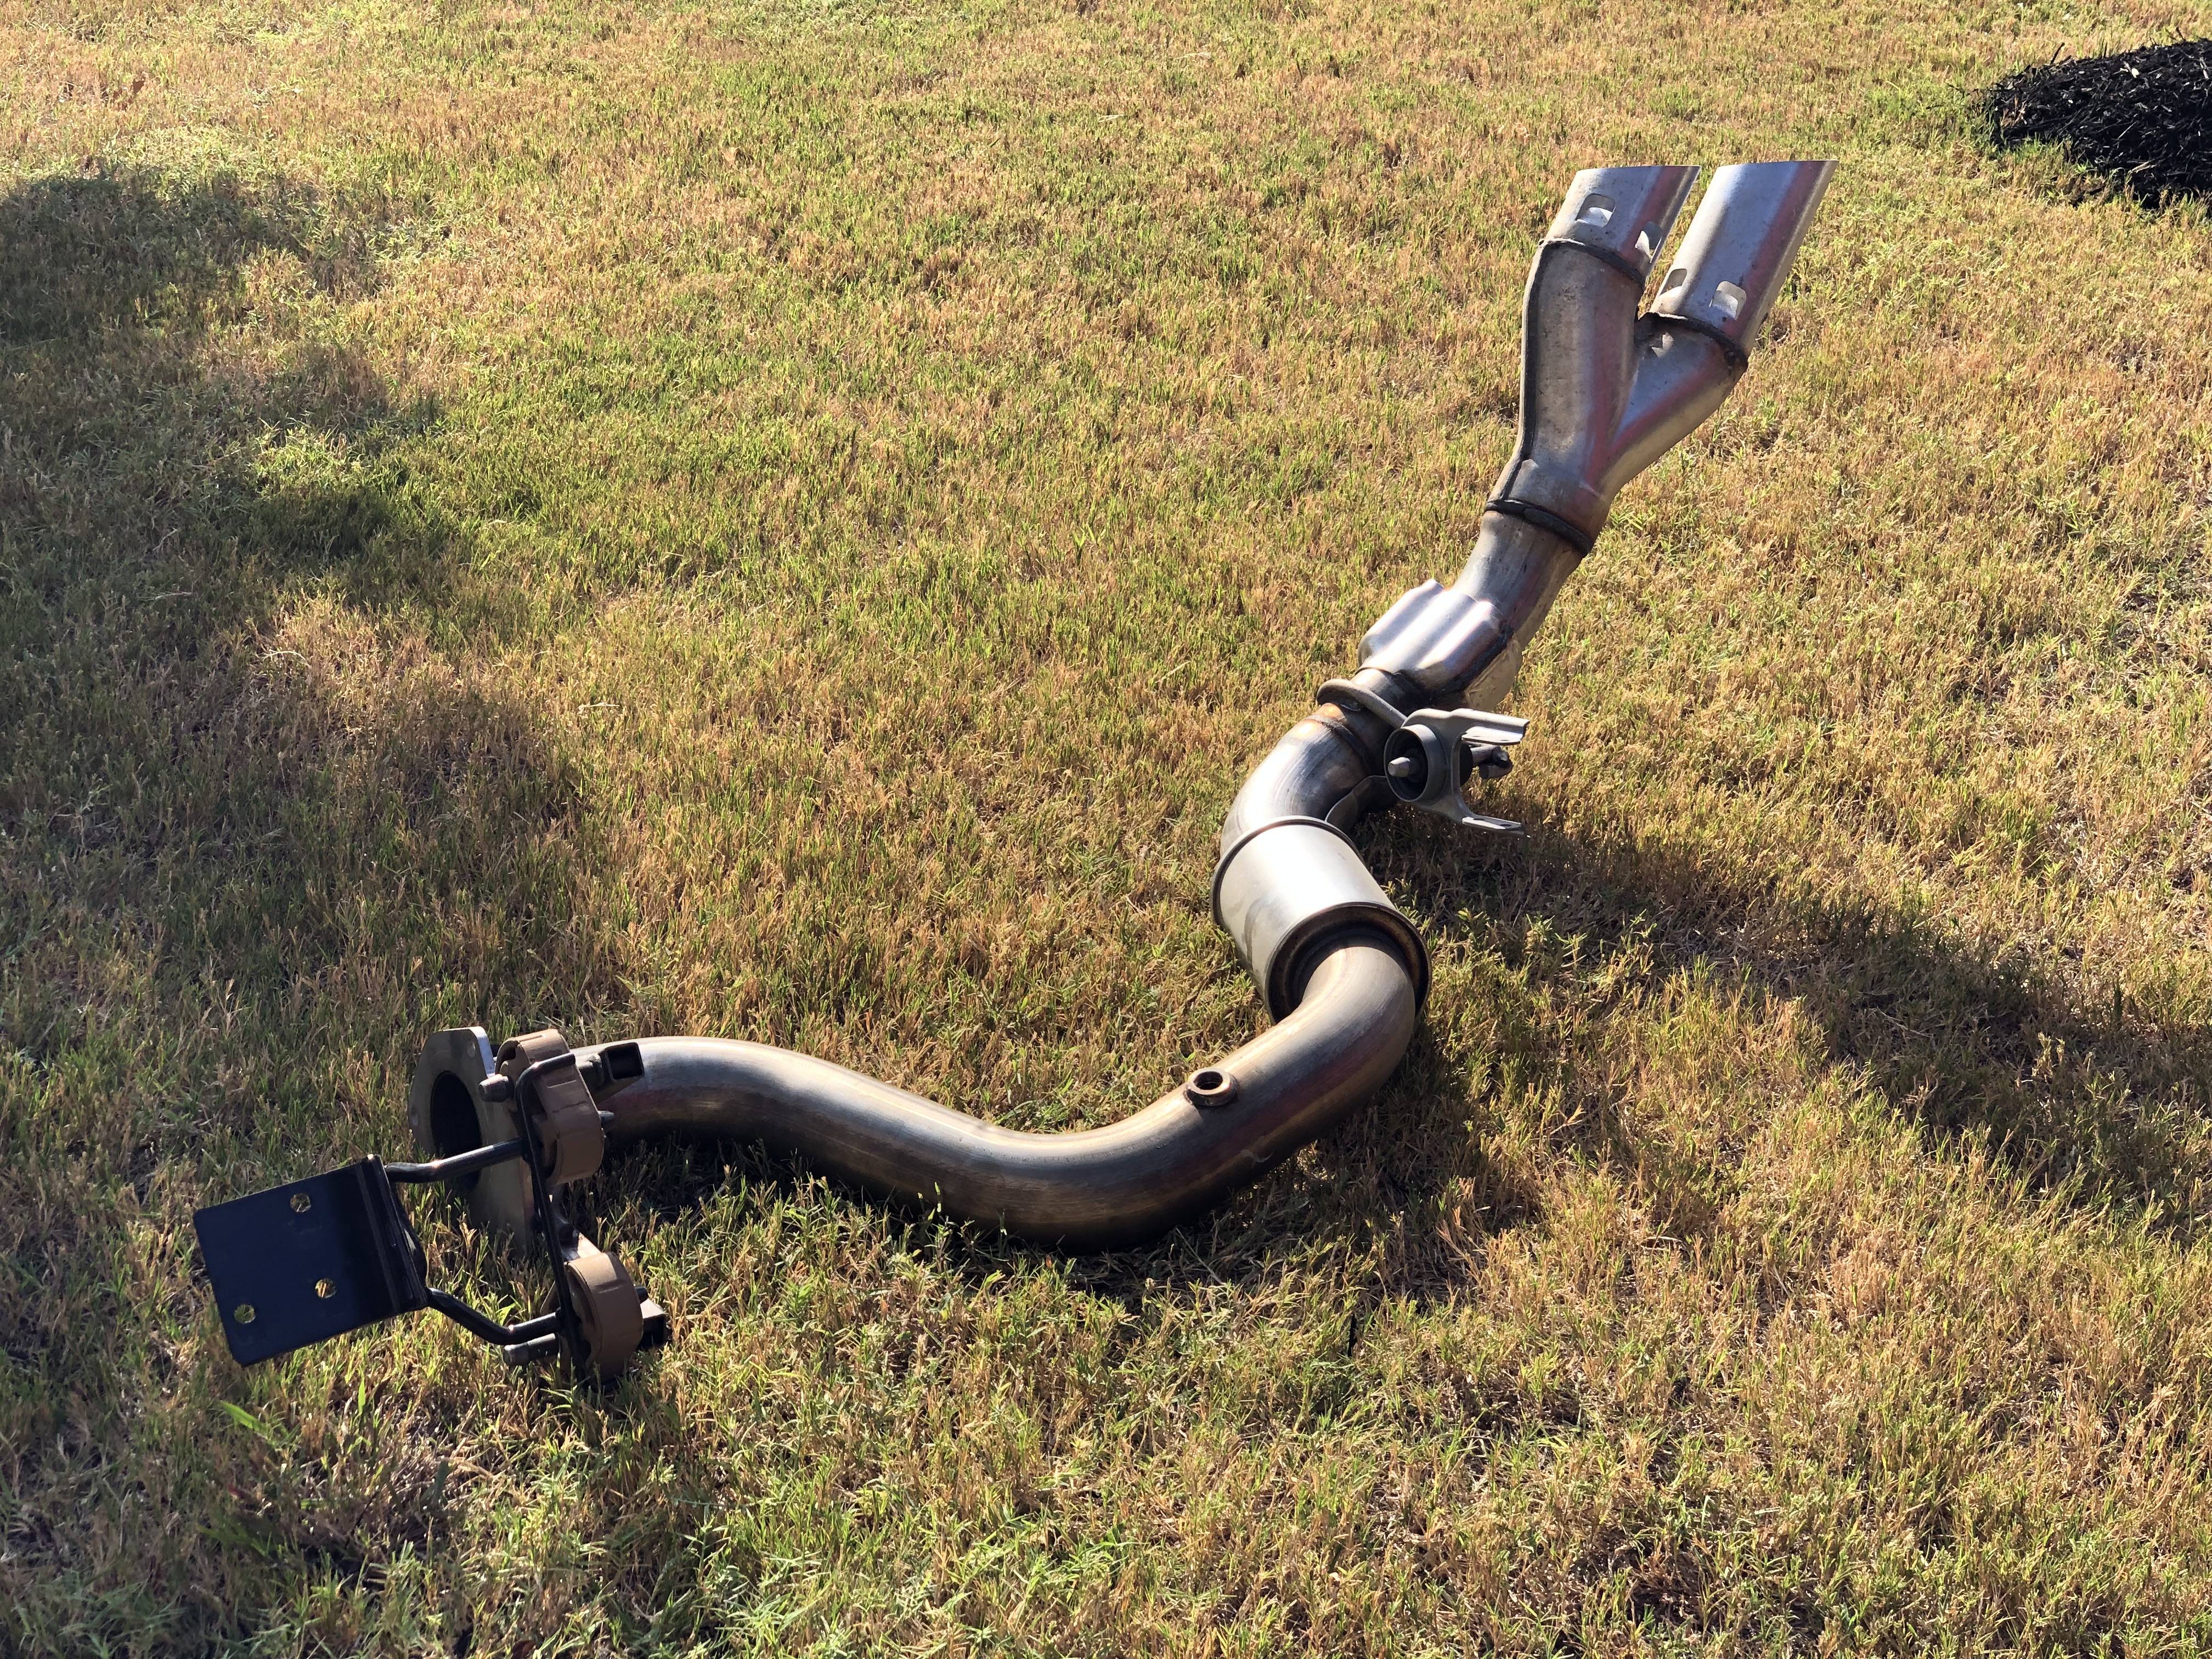
A few posts ago I mentioned how easy it was to unbolt everything, except prepare yourself for the weight on dropping it. I left one of the exhaust flange nuts on to help me lower it in a controlled manner while I removed the last bolt from the aft exhaust hanger bracket. I could reach/remove the loose exhaust flange nut with fingers while I held up and lowered the tailpiece.Muffler looks great painted, nice work! Now I have something else I need to do this weekend.
Admittedly, I haven’t crawled under the truck yet, but how difficult was it to remove the rear section if the exhaust. You don’t necessarily need to post photos but a brief description of what needed to be done would be greatly appreciated.
VERY glad I painted the muffler and aft exhaust hanger!